Today I’m going to be sharing some of the most amazing tips and tricks for gluten free baking. If you’re managing Celiac Disease, a wheat allergy, or a gluten intolerance, I’ll be spilling the tea as the kids say on how you can have amazing gluten free baked goods that rival (and stand up to) traditional recipes.
You do need to know this up front: traditional baking is a lot more forgiving than free-from baking (which comes with quite the learning curve). I like to say that cooking is an art, baking is a science, gluten free baking requires a master’s degree, and top 9 allergy free baking is an exact science that requires a PhD.
The good news is that I hold several PhDs in free-from baking, so you’re getting expert advice today. By the end of this article, you’ll feel like you’ve had a mini master class in gluten free baking, and know how to avoid a lot of common mistakes.
If you’re gluten free AND egg free, stop reading and read this article instead. This article is going to focus on gluten free baking only. GF + EF is a whole different ballgame (remember those PhDs), and I don’t say that lightly. The linked article will tackle more issues you’re bound to encounter with gluten and egg free baking.

Gluten Free Flours I Bake With
When you’re trying to replace regular flour, there are a lot of factors you need to consider including protein content, weight, and flavor. Alternative flours must be combined to achieve the best results, there’s no way around that. Without a blend of flours, you can’t get the nuance that wheat flour and gluten bring to the table.
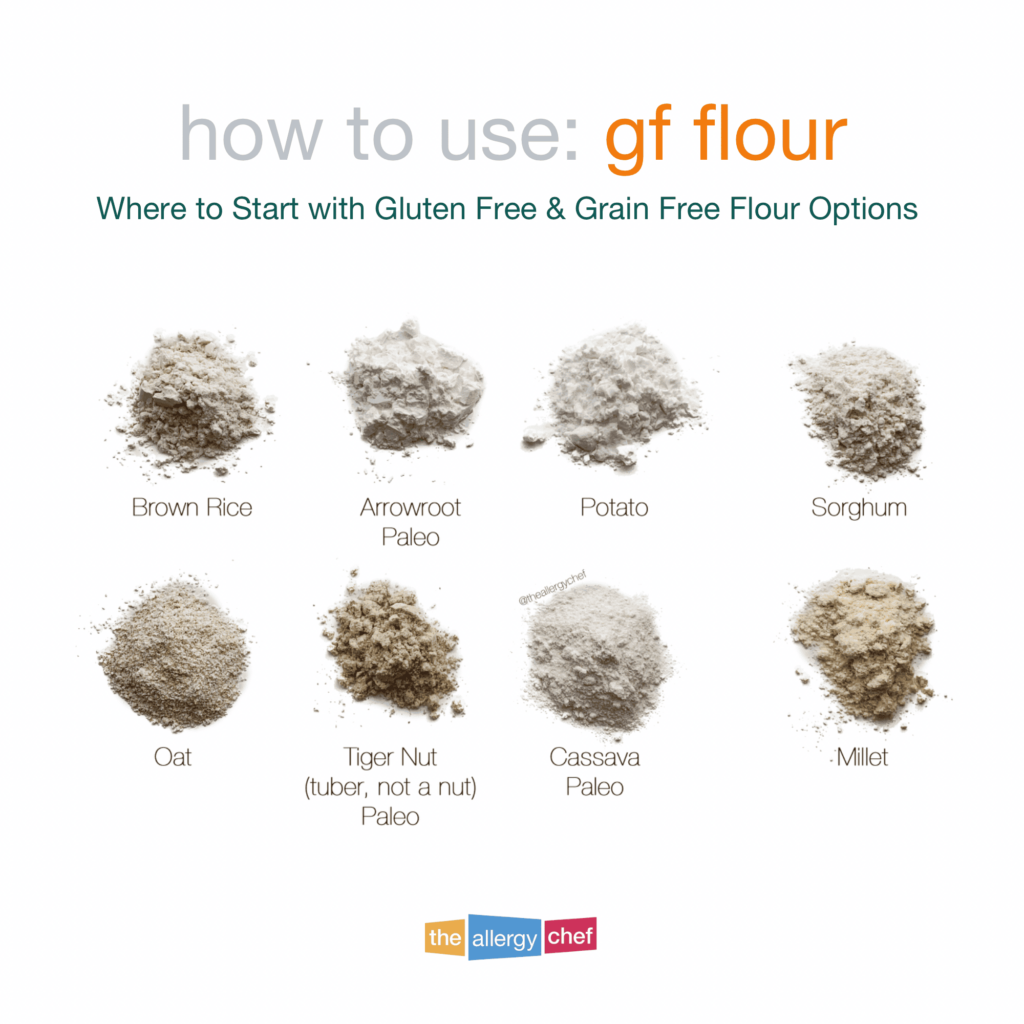
Unless you have an allergy situation like mine, blend baby blend, as a single gluten free flour on its own can spell disaster for your baked goods. Knowing that, these are the gluten-free grains and pseudograins I like to keep on hand for combining and baking:
- Arrowroot (this also works as a cornstarch substitute)
- Buckwheat Flour (yes, despite the name, this is indeed a gluten-free grain)
- Cassava Flour
- Millet Flour, superfine
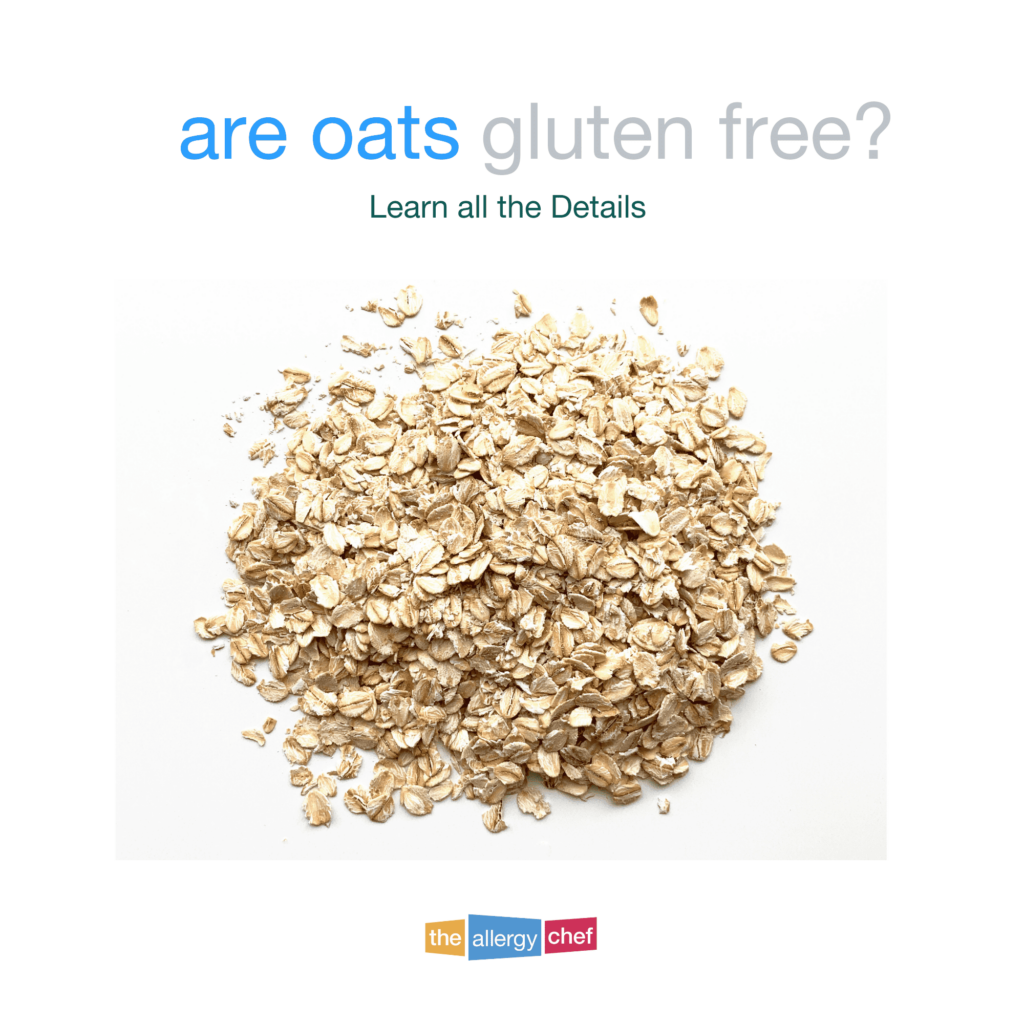
- Oat Flour (Gluten Free, Purity Protocol only)
- Potato Starch (starches are critical for good gluten-free baked goods)
- Rice Flour (Brown Rice Flour, White Rice Flour, Sweet Rice Flour)
- Sorghum Flour, superfine
- Tapioca Starch (sometimes called tapioca flour)
- Tiger Nut Flour (tuber, not a tree nut)
If you’re not used to free-from baking, these will all be new ingredients to you, but I promise, having different flours to choose from will give you more flexibility in the kitchen in the long run.
If you’re wondering why some recipes call for so many different gluten free flours, read this.
Related: Are Oats Gluten Free (a must read for those with Celiac Disease)
Flour I Don’t Use
Something you need to really grasp is that every gluten free flour has distinct properties, and the flours have a *taste*. A lot of people who aren’t gluten free have commented that my recipes never have “that weird aftertaste that gluten-free baked goods usually have” and that’s because I use a great combination of flours to balance the flavor. I also make sure there’s the right amount of sugar and other masking ingredients to bring up the tail end of the flavor profile.
Three flours I’ll never, ever, ever, ever, never bake with because of their flavor are amaranth flour, chickpea flour (garbanzo bean) and teff flour. Now, if you grew up eating these, you may find that they’re A-OK in your gluten-free batters. My experiments have proven though time and again that the taste testers despise those three flours, so I don’t use them. I also know other recipe developers who avoid those three like the plague.
Do these three gluten free flours have their place in the world? Oh my goodness, absolutely yes. You can’t have great injeera without teff flour. Chickpea flour can be used to make really cool faux polenta fries. And amaranth… well, I’m certain someone can use it for something.
However, these three flours can absolutely throw off the flavour profile of your gluten-free baked goods.
Flours with Special Properties
With the exception of coconut flour, these are flours that I do keep on hand for special projects. They’re all very interesting to work with, but you’ll either want to follow a solid recipe when doing so, or wait until you get your master’s degree.
- Almond Flour (both blanched and natural)
- Coconut Flour
- Nut Flours (as a general rule)
- Plantain Flour
- Quinoa Flour (this one is more forgiving)
Coconut flour absorbs liquids at a much different rate than all other gluten free flours. Almond flour isn’t a great standalone flour, but can be one when used with the right additional ingredients. However, the amount of flour you’ll need is much different than a standard gluten free recipe.
Nut flours, as a general rule are complimentary flours, not stand alone flours. Rice flour, in a pinch, can stand on its own. Sure, it will be lack luster, but it can be done. Nut flours need a supporting actor to help pull off the role. Now, you *can* use them standalone if you’re working with eggs and other great binding ingredients. Their flavour is very prominent and you’ll want to keep that in mind as well. There are many times in pastry where all you want is a nut flour to create the right profile.
Quinoa flour has a distinct taste and limited uses. If you’ve never used it before, It’s not the best way to start your gluten free baking journey (unless of course that’s the only flour you can use). Quinoa flour can absolutely deliver on texture, but it’s always going to bring a flavour to the table that not everyone will find pleasing. Think amaranth, but less intense.
For more information on gluten free flours, and how to make your own blend, this article on GF flours is a good place to start.
Superfine Flours: Once You Use Them, You Never Go Back
When you’re new to baking at home, you’ve probably never heard of so many terms, including superfine flours. The term superfine refers to the size of the flour grain. When the grains are super tiny, we call this a superfine flour.
I’ve baked with both regular gluten free flours and superfine flours and it’s superfine for the win. When you first do a head-to-head bake, there isn’t a huge amount of difference. However, when you freeze and thaw the flours… woooo boy are there differences.
Superfine flours deliver a much better texture when compared to non-superfine after the thaw. Now, if you know anything about me, it’s that I’m all about that batch cooking life. I think every free-from person should have a freezer full of safe food (that’s really a version of fast food). However, you can’t do this if your thawed products taste awful or have the wrong mouthfeel.
Using superfine flours will take your gluten-free baked goods to the next level, especially if you plan on freezing them.
Want to learn from a pro? Enroll in my Free-From Baking Basics eCourse
This course is designed for those with Celiac Disease, food intolerances, and food allergies. It gives you the confidence to bake awesome goods, and of course, I walk you through everything step-by step. You’ll also have lots of delicious recipes to follow that will impress your friends and family.

Not Every All Purpose Flour is Really for All Purposes
All purpose wheat flour is pretty cool in that you can generally use it in all baking scenarios and get good results. Some wheat flours (such as bread flour and cake flour) can get the job done better, however, an AP flour produces results that most people will enjoy.
All purpose gluten free flour blends on the other hand are lying liars that lie. They don’t mean to lie, and it’s not malicious. Perhaps I should say: they overestimate what they can really get done. There are some commercial gluten free all purpose flour blends that are only good at certain things.
Whilst I can’t tell you about every GF blend, I’m going to encourage you to read the package front to back, and to also check the manufacturer’s website. That’s a great way to find out if their flour blend has any limitations.
I have a recipe developer friend who has tested several GF AP flours, and has told me, some can do cookies and cakes only, there’s only one that’s good at biscuits, they’re all generally good at pancakes and waffles, and so on.
Another developer I know combined gluten free all purpose flour with almond flour and the texture is superb. Understanding that commercial blends have limits will be an important part of your journey.
Some manufacturers are upfront about the limitations whilst others let you find out the hard way. If you follow a gluten free recipe to the letter, but you have different results from the recipe developer, it could be your brand of flour. Read the recipe notes and see what they suggest, and if they don’t have a specific brand listed, email them and ask what they used.

Xanthan Gum & Guar Gum: Do Your Really Need Them?
I’ve developed hundreds of gluten-free recipes, specifically for baked goods, and I can tell you without doubt: you don’t need xanthan gum or guar gum. Commercially, they’re used to help with the texture of gluten-free baked goods. In fact, I’ve experimented with both of these gums.
Through my experimentation, I found that no one could pick up on the difference when goods were made with or without the gums. However, there’s a catch. I make my own gluten-free flour blend. Some commercial blends lack quality, or overall balance, and they rely on xanthan gum or guar gum to save them a little bit.
If you plan on purchasing an all purpose gluten-free flour blend, you’ll almost always see xanthan gum (usually corn derived) or guar gum (legume derived) in the ingredients. If you’re allergic to corn or legumes, check out Better Batter. They have an all purpose flour blend that’s gum free. And since we’re on the topic, if you need a gum free + gluten-free bread, check out the Gum Free Sourdough Collection from Bread SRSLY. They have a dedicated gluten free facility that’s also top 9 allergy free.

Critical Tip As You Start Your Gluten Free Baking Journey
Follow. Instructions. I know that seems too simple of a tip, but here’s the thing… if you want to have a good result, you need to follow the instructions from the recipe developer. If you don’t, there’s a very good chance you’ll get different results and then you’ll be one of those people that leaves a comment. You know the type…
“I swapped this for that, and swapped another important ingredient for this other thing, oh, and I used honey instead of brown sugar. It’s an awful recipe.”
If I had a nickel for every person that butchered a recipe then claimed it was a bad recipe, I’d have at least three more very large LEGO sets. For the love of all things gluten free, please follow the instructions and don’t swap ingredients blindly. If you’re allergic to something in the recipe, ask before you swap, especially if you’re new to GF baking.
Gluten-free bakers that are pros like myself will test, test, and test a little more to make sure the finished product is stellar. We know how the individual flours work, and we know how to get you the best textures. We know how to make you feel like gluten is a thing of the past. However, we can only do that if you follow the instructions.
Grain Free Baking Tip: As you start your journey, follow recipes that are specifically grain free, since grain free flours have very different properties when compared to standard gluten free fare.
Kitchen Scale: A Non-Negotiable
I know a lot of you reading don’t want to use a kitchen scale, but I’m going to give it to you straight: the only way for gluten-free baking recipes to deliver accurate measurements is with a kitchen scale. In fact, if you take nothing else from al of my baking tips today, it’s that you need a kitchen scale in your life.
In fact, when you use a scale, you don’t need to fuss over a measuring cup and thoughts of: is it fluffed? is it a level scoop? a heaping scoop? All of those thoughts are a thing of the past because the weight is THEEE weight. You can’t mess that up.
Additionally, a cup of flour doesn’t have the same weight from one GF flour to the next. You can test this out by weighing a cup of arrowroot, then a cup of brown rice flour. They’re different.
What that means is that you can have terrible results in the kitchen if you only rely on a measuring cup. I’ve had so many people tell me that following my recipe with the scale has made their gluten free and free-from baking experience much more enjoyable because they get awesome results, every time. Also, clean up is faster.
The Unsung Hero: Parchment Paper
Some of the best advice I can share with you is to lean into parchment paper. Hard. The whole “prepared pans”, and spraying and flour dusting… none of that is necessary if you use parchment paper.
Parchment paper can be used on baking sheets, cookie sheets (though not as necessary because of the holes), and all shapes of cake pans. You don’t need parchment paper around the sides of the pan, just the bottom.
If you follow this advice, your baked goods will have an easy, clean release every time. Every so often you may need to take a thin spatula to the side of the cake to release it, but then you flip and presto. Clean cake. I can’t say enough good things about parchment paper, and I’ve had people who are new to baking follow this advice and their minds are blown. Parchment paper. Seriously. Buy a bunch.
For those who are planning to make cupcakes and mini cupcakes, I really like the If You Care brand of parchment liners.
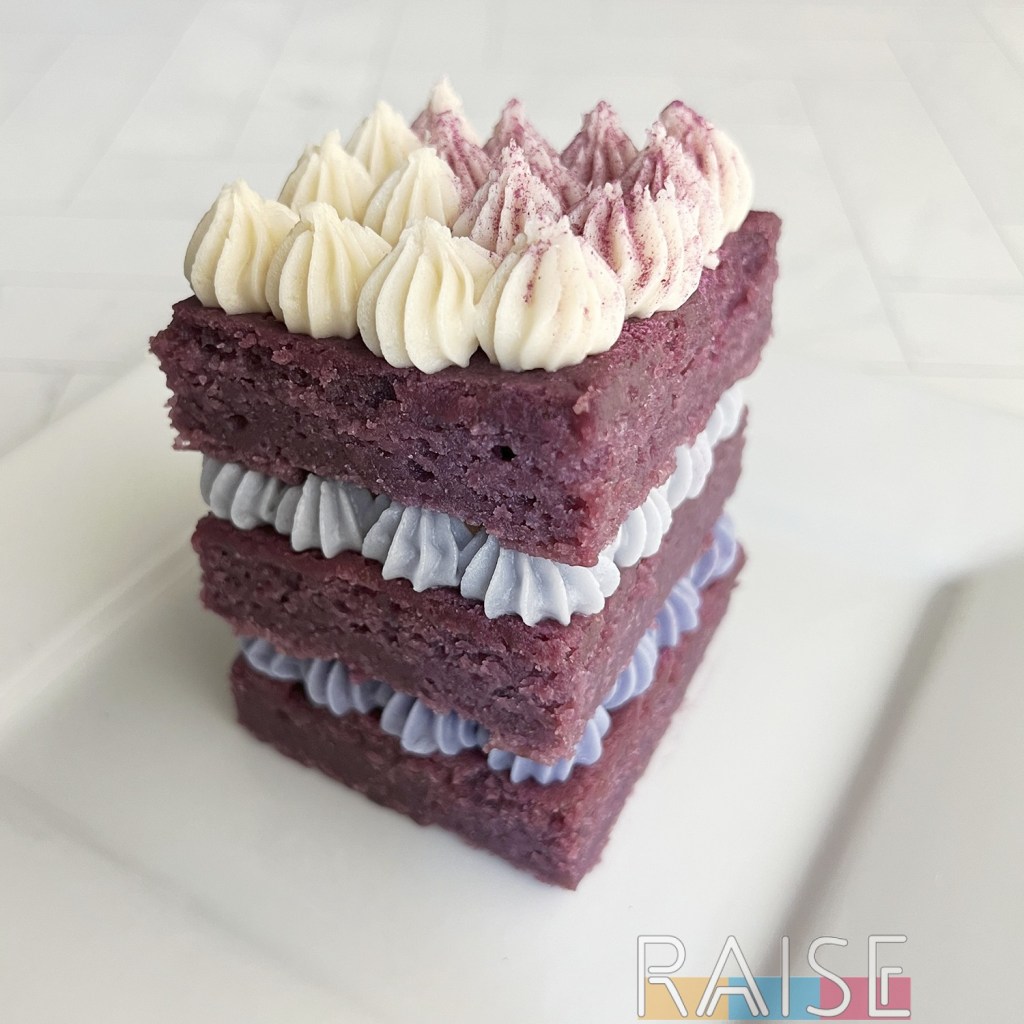
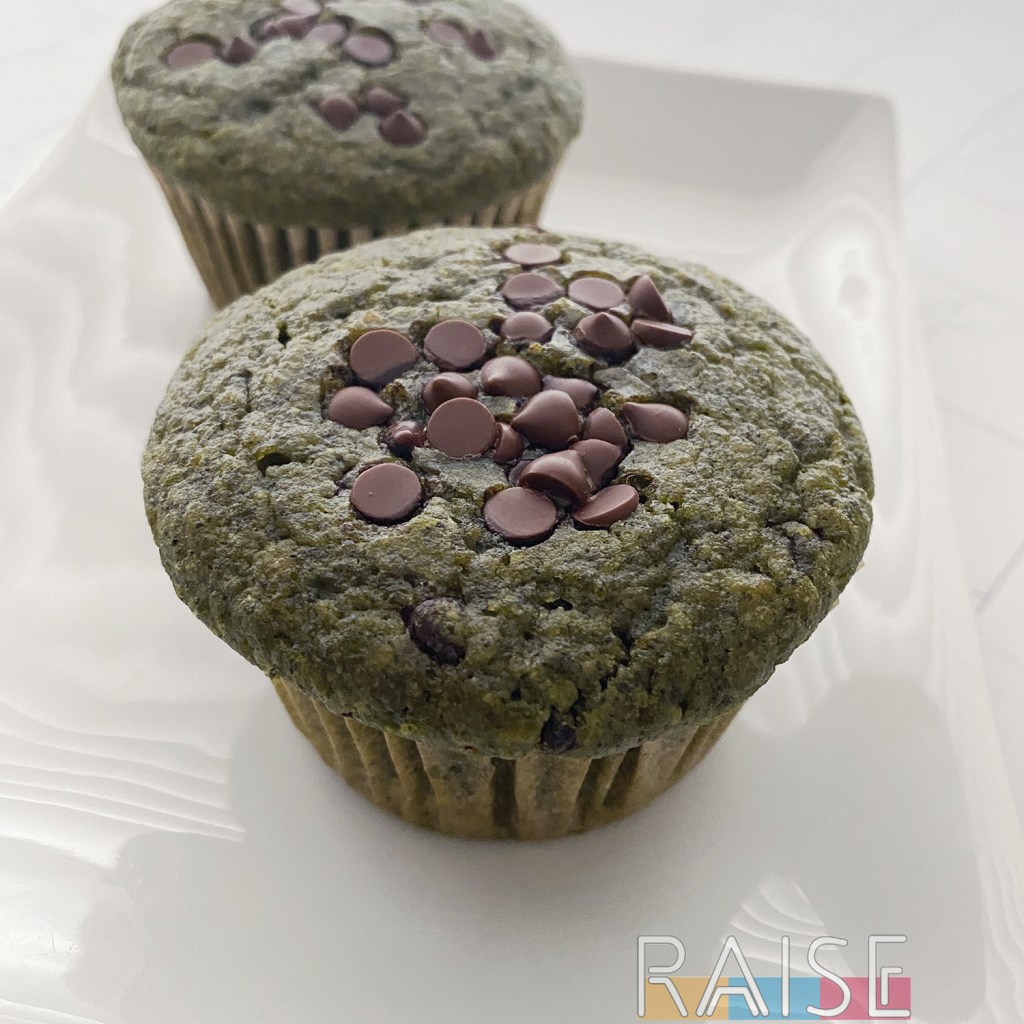
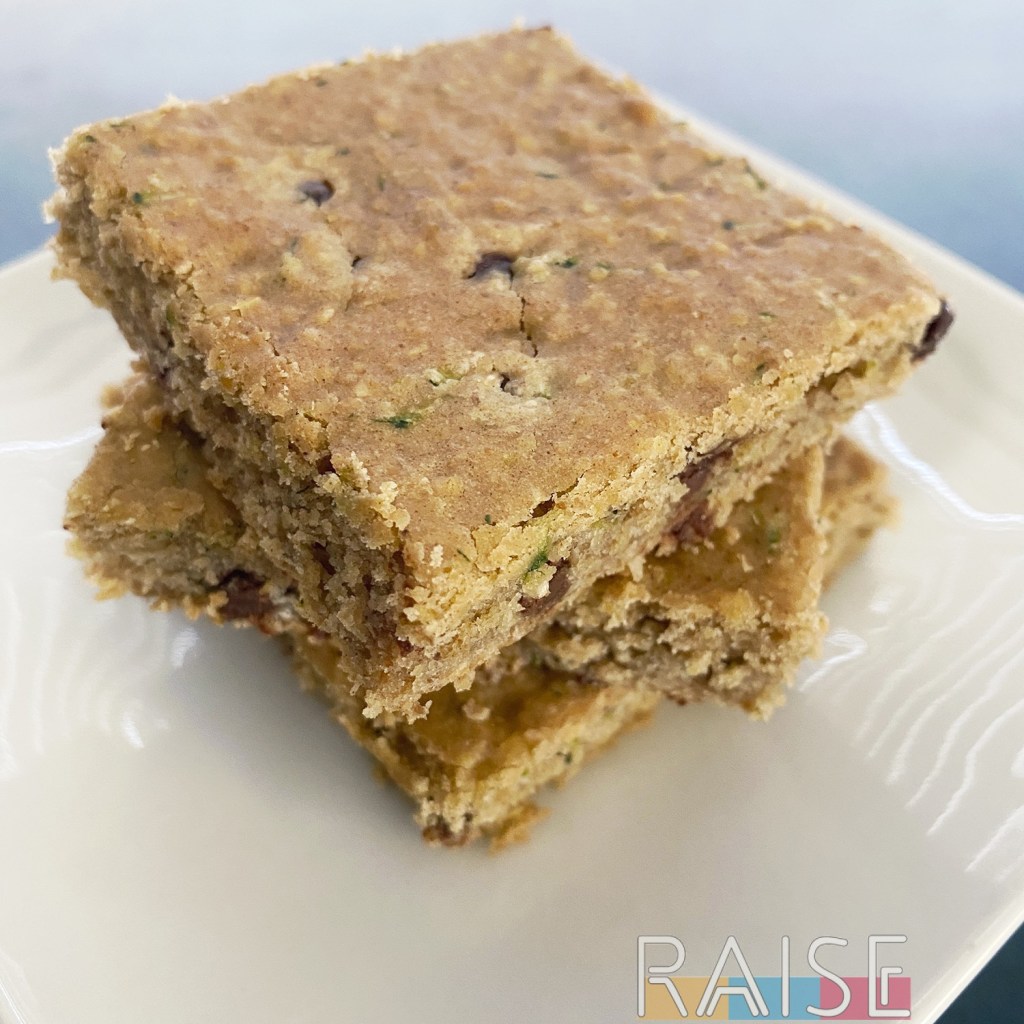
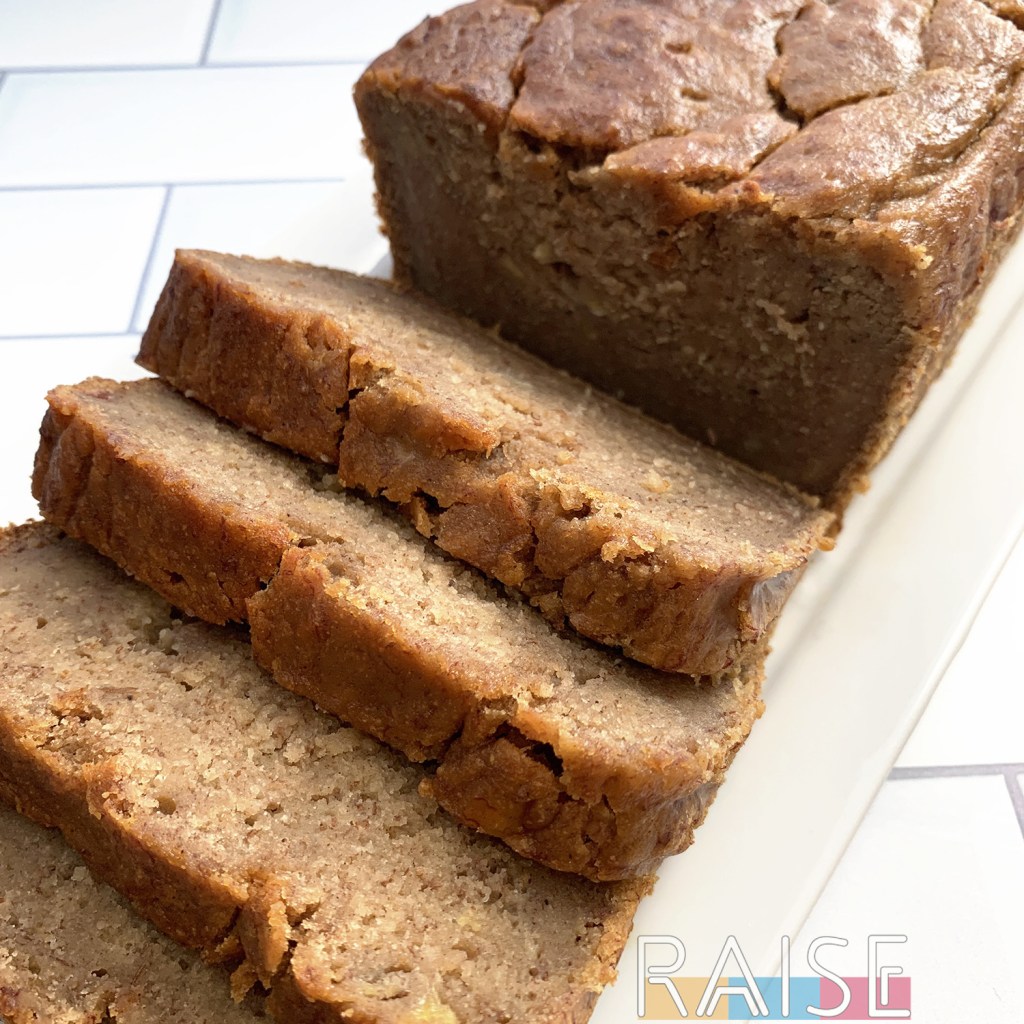
Recipes for Gluten Free Muffins & Quick Breads
 |
 |
 |
 |
Avoid Overmixing: We’re Not Developing a Gluten Network
In traditional baking, you have to really be careful about how much you mix your batters and doughs. Some will call for a short mixing time whilst others require up to ten minutes of mixing.
In gluten free baking, we’re not developing a gluten network, and therefore, don’t need long mixing times. Additionally, if your recipe developer is leaning into something like baking powder for extra lift and texture, and you overmix, you can destroy those oh so important air bubbles.
If you’re not sure how long to mix for, read the instructions in the recipe. I know I always tell folks the mixing time, and I’m sure other developers are doing the same thing.
To Rest or Not Rest, That is the Question
You’re going to come across a variety of recipes from all sorts of developers who put their own spin on gluten free baking. In wheat/regular baking, it’s common to let the batter rest, however, in free-from baking, it’s usually the opposite.
Personally, unless I’m working with a recipe that includes yeast, I don’t allow the batter to rest. I will say though, my recipes are also egg free so I have to do everything I can to take advantage of the air bubbles I’ve developed. If I were to all ow my batters to rest, I’d have less lift.
Assuming you’re baking with eggs, the recipes you follow may call for different instructions. What it boils down to is this: follow the instructions. If a recipe developer has determined that the batter needs to rest, take the extra time to do so so your final product is awesome.
You’re most likely to see this in pie doughs and some cookie doughs that need to chill before baking. In these cases, they usually want to control the spread and lift whilst the baking happens by changing the temperature first. Again, follow the directions so you can have the best results.
Getting Weird Results: What’s Your Actual Oven Temperature?
One of the first things I always advise people to do when they’re new to any kind of baking at home is to map their oven. It’s so critical that you know your oven. The only way to test your oven’s actual temperature with an oven thermometer (not the same as other types).
In one kitchen I worked in, there was a double oven and the two ovens were not the same temperature. I always thought the bottom oven ran hot. I got an oven thermometer and turns out the top oven (with a digital temperature control) ran 25 degrees under what it said and the bottom oven (with a manual knob) was the correct temperature.
In addition to that, you need to map your oven with a tray of flour or a tray of bread. See how the colour develops, and note if there are any hot spots in the oven. If you want produce perfect baked goods you need to make sure the temperature is spot on, and know where the hot spots are so you can avoid them.
Carryover Cooking: A Gluten Free Baker’s Friend
Sometimes with free-from baking, the outside is done whilst the inside needs more time. One way to solve this problem is to use carryover cooking. It means that you pull the hot tray out of the oven, and leave the baked goods on the hot tray for another ten minutes or so.
You know if if you touch a hot pan you’ll burn yourself? Well, that same heat can be used to your advantage. As your baked goods continue to sit in that hot pan, they’re still cooking. I personally take advantage of this in almost all of if my gluten free and allergy friendly baking.
Crumbly & Dry Texture: A Little Troubleshooting
“I can’t believe how moist your cakes are!!” Seriously, if I had a quarter for every time I heard this when operating the bakery…. I could have purchased a nice sports car. People were always shocked that there was no gluten, no eggs, no major allergens, and yet… the cakes were moist (but not soggy), had amazing texture and crumb, and weren’t crumbly like a lot of other gluten free baked goods.
So then. What’s the big secret? It’s taking a multi-pronged approach to gluten free baking. You have to remember what gluten can bring to the table, and what gluten free flours quite literally can’t do.
Then, you look at what they can’t do and ask: what in the culinary world *can* do that, and can it be incorporated into a recipe properly. In my case, I used organic extra virgin olive oil in all of my cake recipes and the moisture level was always on point.
My cake recipes can be frozen and thawed, and still taste like they’re day one fresh. That only happens because I take the multi-pronged approach. Gluten delivers binding, texture, lift, and a special stretch. You need to replace some or all of these when you’re creating free-from recipes.
The reason gluten free flours are dry and crumbly is because there’s no gluten network holding them together. Even when you bake with eggs (a great binder ingredient by the way), if you don’t manage the recipe properly, it will still be on the dry side. Remember, gluten free flours aren’t naturally moist.
With the addition of oil, I’m able to make sure that the finished product is on point, and award worthy. Also, don’t over-bake your gluten free goodies. An extend bake time can dry out your goods and this will also result in dry and crumbly baked goods.
Decorating Gluten-Free Cakes & Cupcakes
The top tip I can give you for decorating gluten free and allergy friendly cakes is to freeze the cake before applying frosting and decorating. Now, this does come with a learning curve because once you start applying the frosting, you have to move it. The room temperature frosting will set on the very cold cake as soon as it’s applied, so you can’t dilly-dally and take your sweet time decorating.
The advantage to doing this though: gorgeous cakes. If you don’t freeze the cakes before decorating, you’re much more likely to have tearing and crumbling. Sure, that’s what a crumb coat is for, but with gluten free baking… it can be a very hot mess. All messes are avoided by freezing the cake first.
To freeze your gluten free cake, place the cake, whilst still in the baking pan, in your freezer. Do not eject the cake first as this is unnecessary and might misshape a tiny bit as well. The pan is essentially a cake girdle and holds everything in. Once the cake is frozen, pop it out, then get to decorating.
Cupcakes on the other hand don’t require freezing before decorating. Just make sure you don’t manhandle your cupcakes and squish them a little bit in the process of making them look extra pretty.
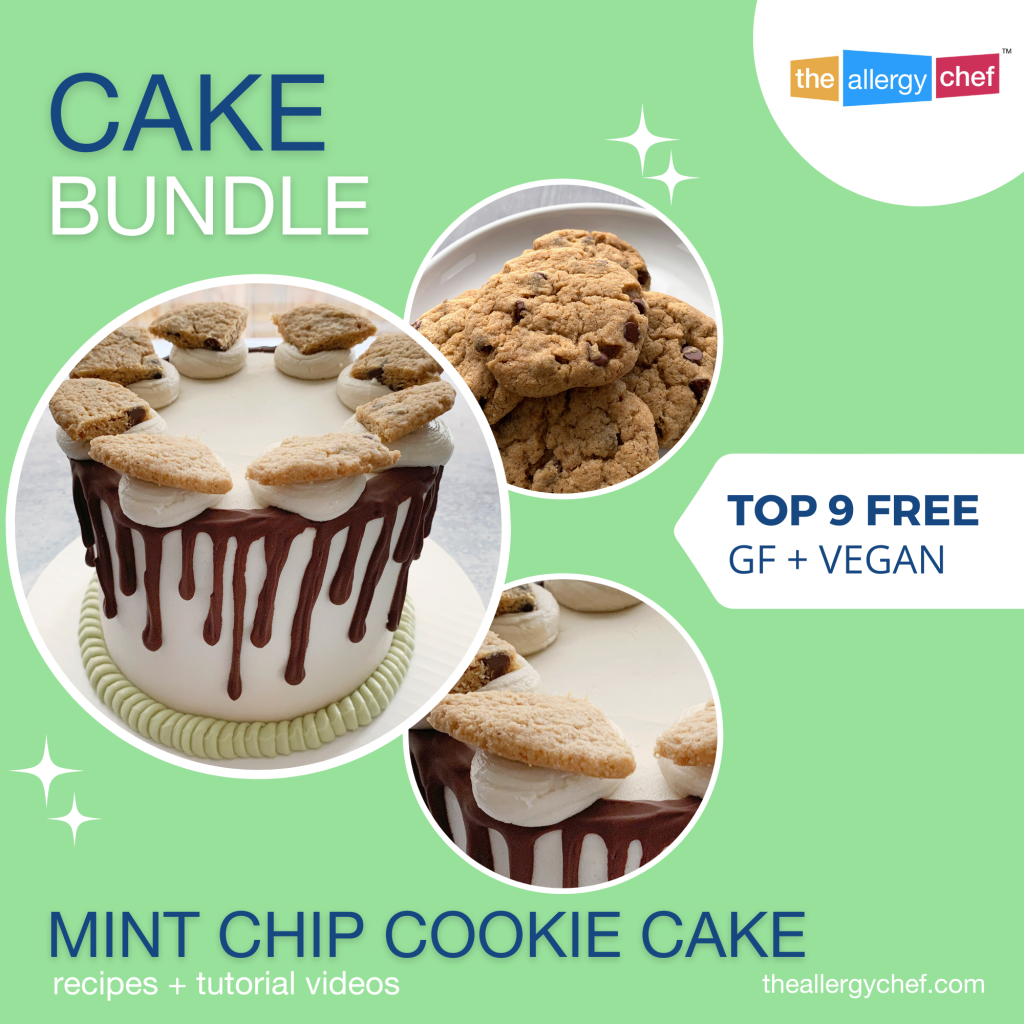
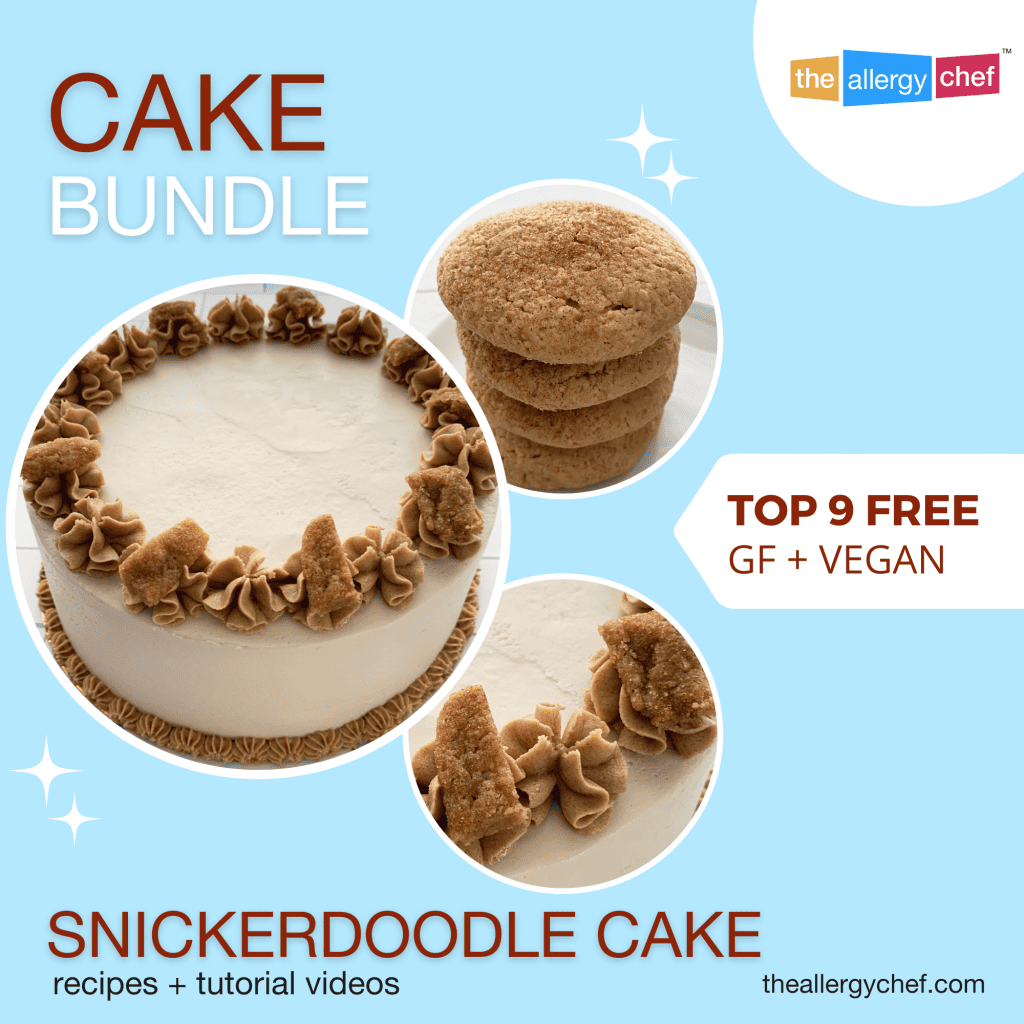
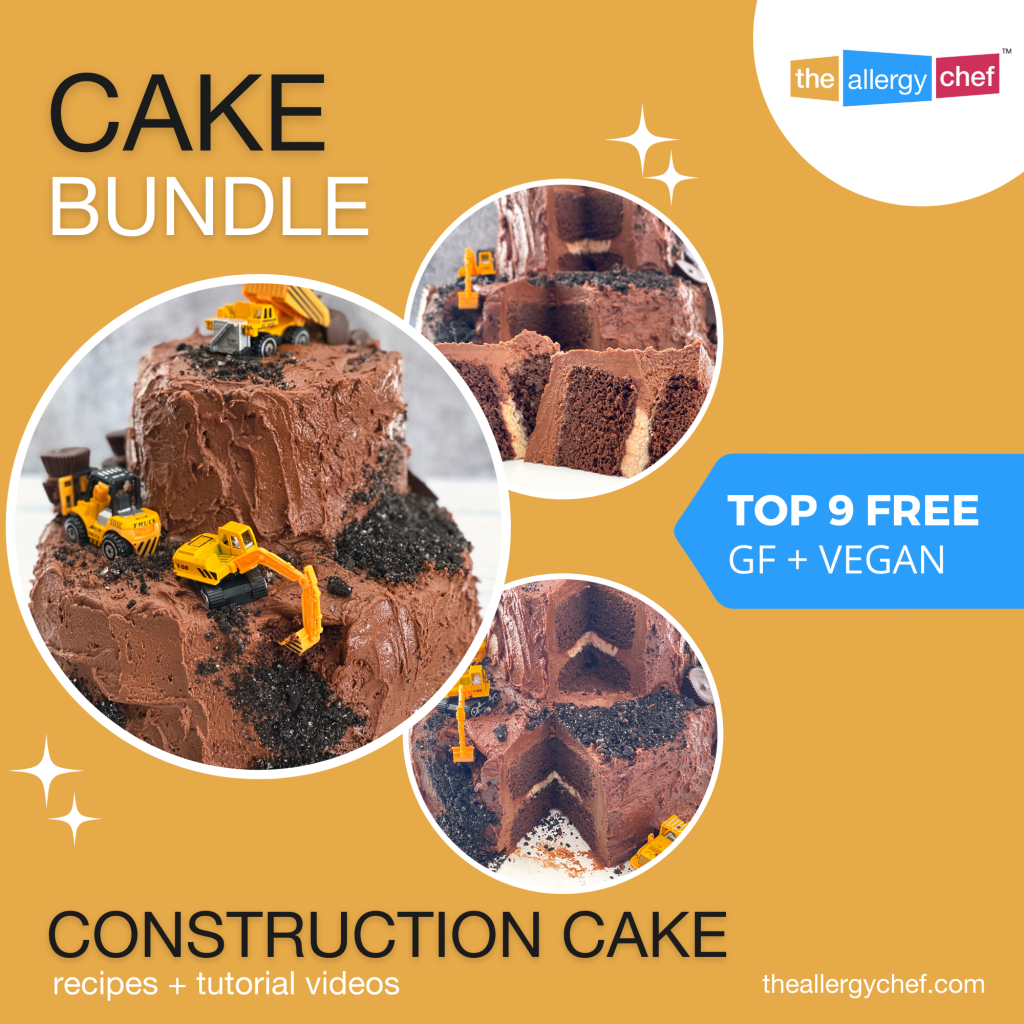
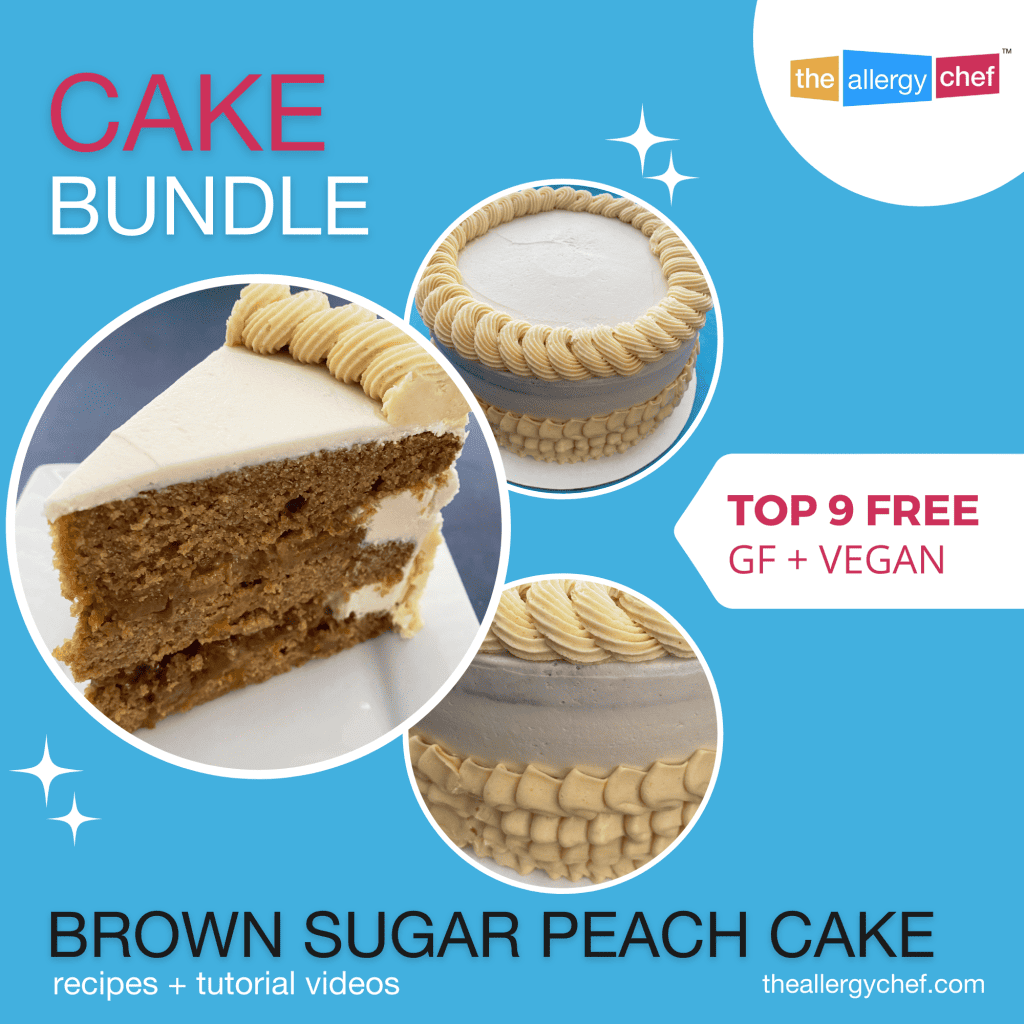
Cake Bundles: Get my best recipes (from my bakery) and step-by-step video tutorials.
 |
 |
 |
 |
Going Fancy? Get Silicone Molds
You know those super cute metal cake pans? Skip them. Instead, get super cute silicone molds. Be sure to get high quality molds though made from really good silicone or your. kitchen will smell funny when the molds heat up.
The awesome advantage to silicone molds is that the ejection is 1000000000000000000 times easier. I’m not exaggerating with all those zeros. A metal pan has no give, and you’re at its mercy to release your cake. Silicone? It’s flexible, and you can freeze it if needed to make the release even easier.
The only real exception to this is a good bundt pan. I’ve never had an issue with the Nordicware pans, but, I’m also never super happy with the intricate details either. They’re kind of meh, and I always find myself drifting back to traditional pans with parchment paper, or silicone molds.
Don’t Want to Destroy Your Cake: Don’t Level Your Cakes
When you set out to decorate gluten free and allergy friendly cakes, you may reach for a knife to level the cake. DON’T!! Leveling a free-from cake will destroy the precious gluten free structure you worked so hard to develop.
Instead, freeze the cakes and decorate them. If you find that your cakes always come out with a huge dome, use less cake batter. Less batter produces a more leveled appearance, and you can make a three layered cake with even layers instead of a two layered cake with huge domes.
Also, you can adjust how level a cake looks by how you apply your frosting. My cake bundle video tutorials cover all of these details, and if you’re really wanting to make a splash with your gluten free cakes, grab a bundle and get to baking.

Gluten Free Cookie Recipes
If you need great cookies, I’ve got you covered. RAISE (membership website) has a lot more cookies to choose from.
- Gluten Free Peanut Butter Cookies
- Gluten Free Chocolate Chip Cookies (a best seller at my GF AF bakery)
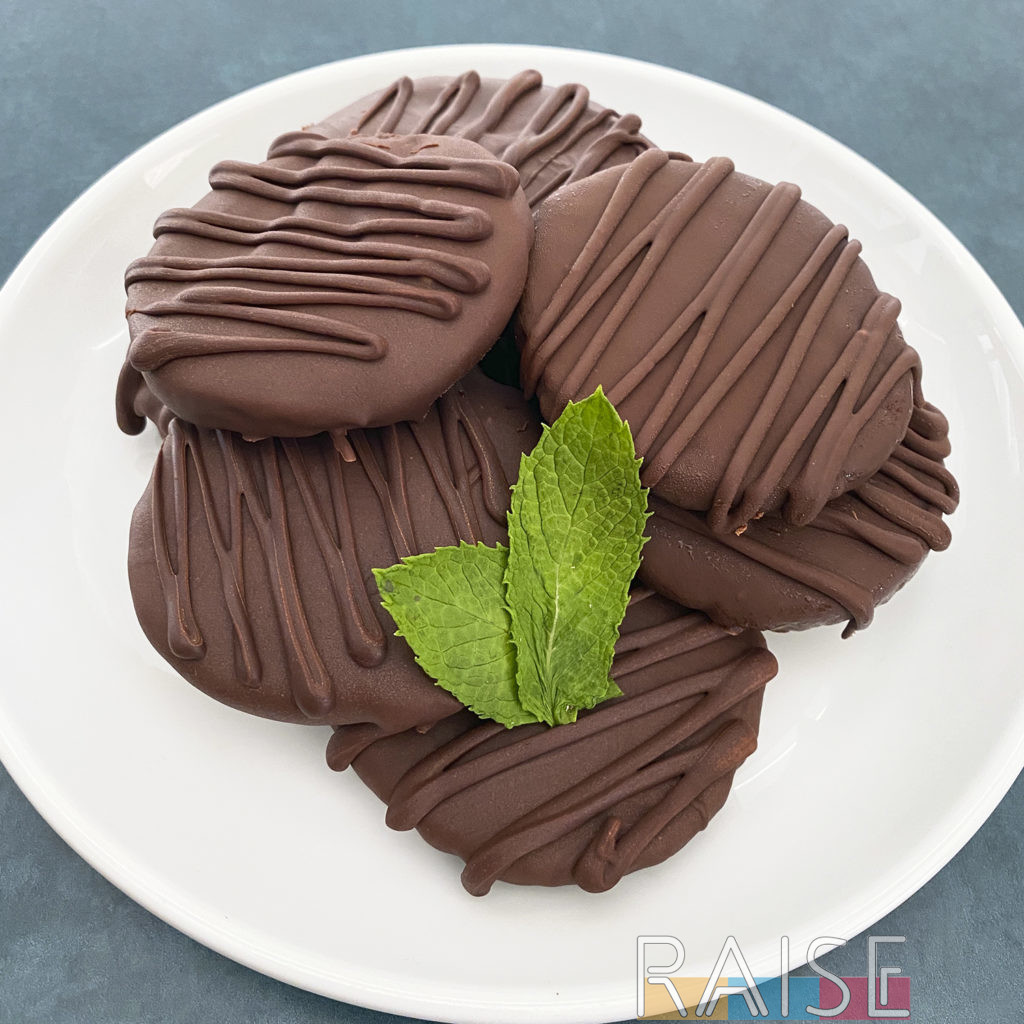
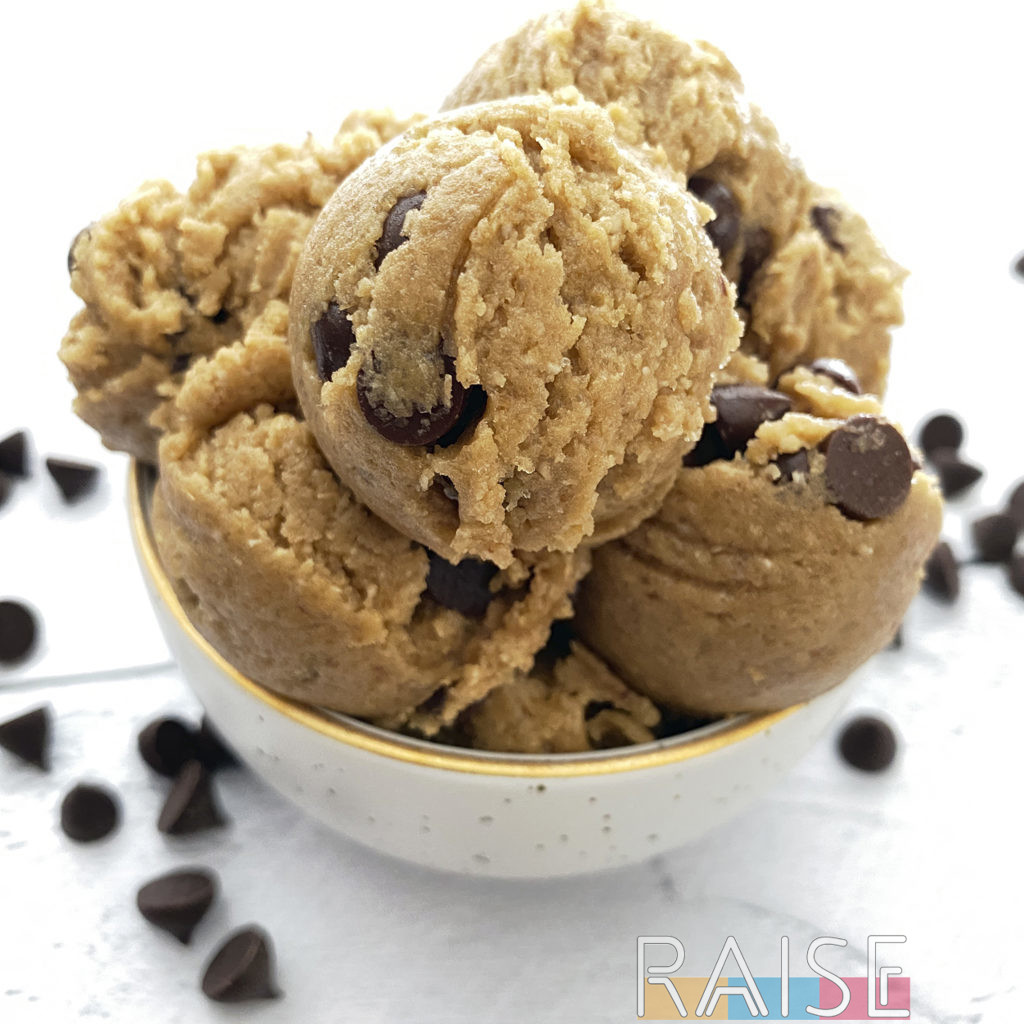
- Mint Chip Edible Cookie Dough Recipe
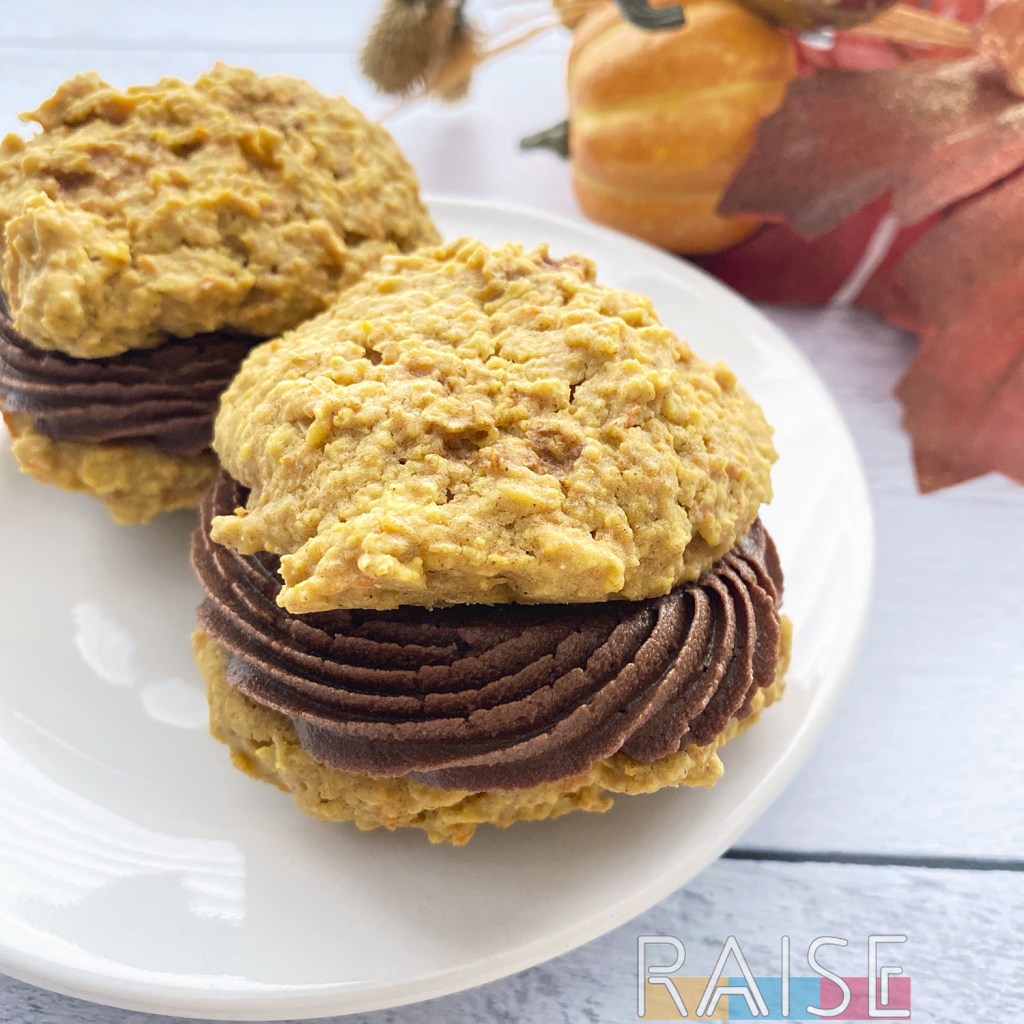
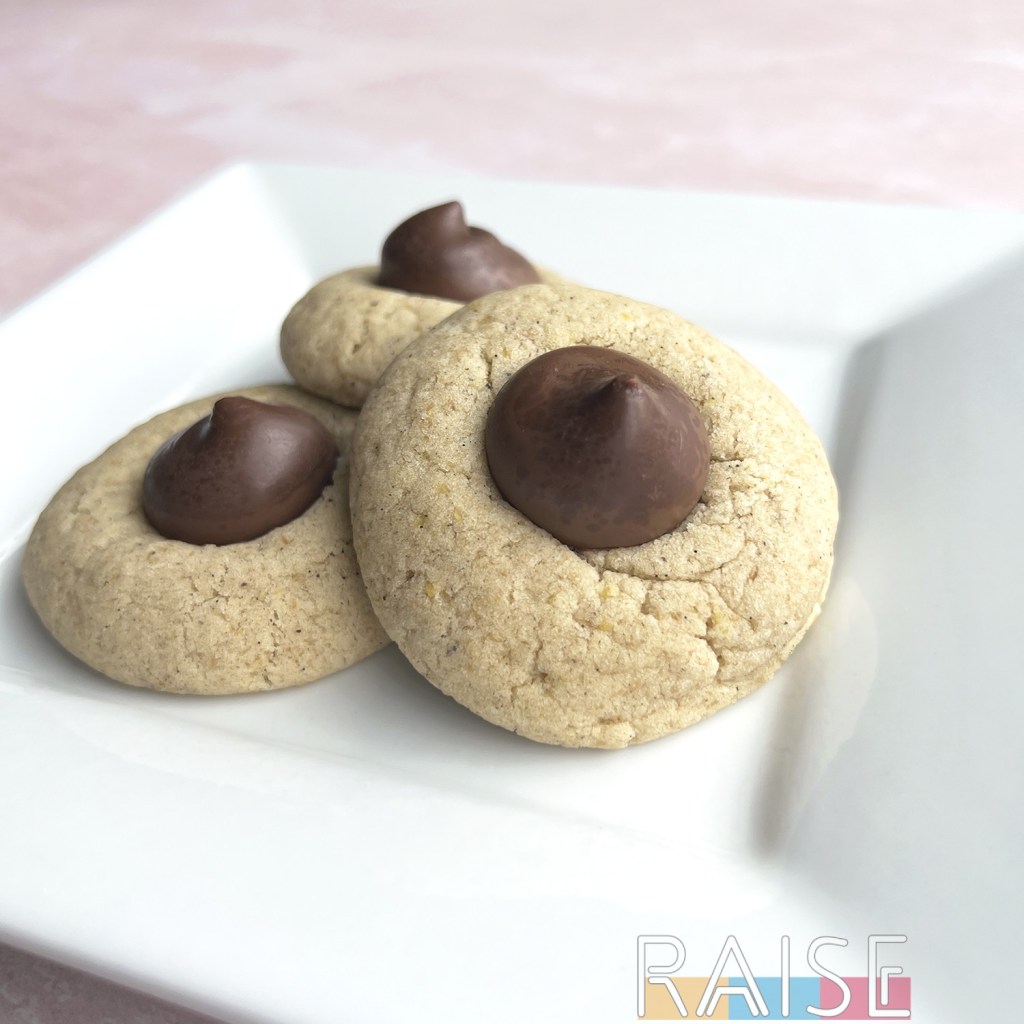
- Vanilla Smooches Cookies (gluten free + top 9 allergy free recipe)
 |
 |
 |
 |
Give Future You a Gift: Test Freeze Everything
Some recipes you follow will come with information on how to freeze (or a warning no to freeze). If a recipe doesn’t have this information, do yourself a huge favor and freeze test the recipe.
To do this, you’ll want to make extras if possible, then freeze the items solid. Transfer them to a freezer bag and thaw one item a week. You’ll need to take good notes like any good science project, and be sure to give it a rating each time. Your notes should say something like texture = 8/10, taste = 7/10, and so on.
Over the course of several months you’ll be able to see where a distinct decline in quality happens, and then you know the freeze time for a particular recipe. I did this all the time and the results were awesome.
Once you know how long something can be frozen for (or it can be frozen at all), you’ll be able to batch cook/bake and fill your freezer. This means that in a pinch, you can grab a cookie, cupcake, etc. from your freezer and you’re ready to roll.
Most gluten free baked goods can be frozen for a period of time, however, there are a few flour combinations that don’t freeze as well. Additionally, some types of cookies, like thumbprint cookies, can lose their magic once they’re frozen and thawed.
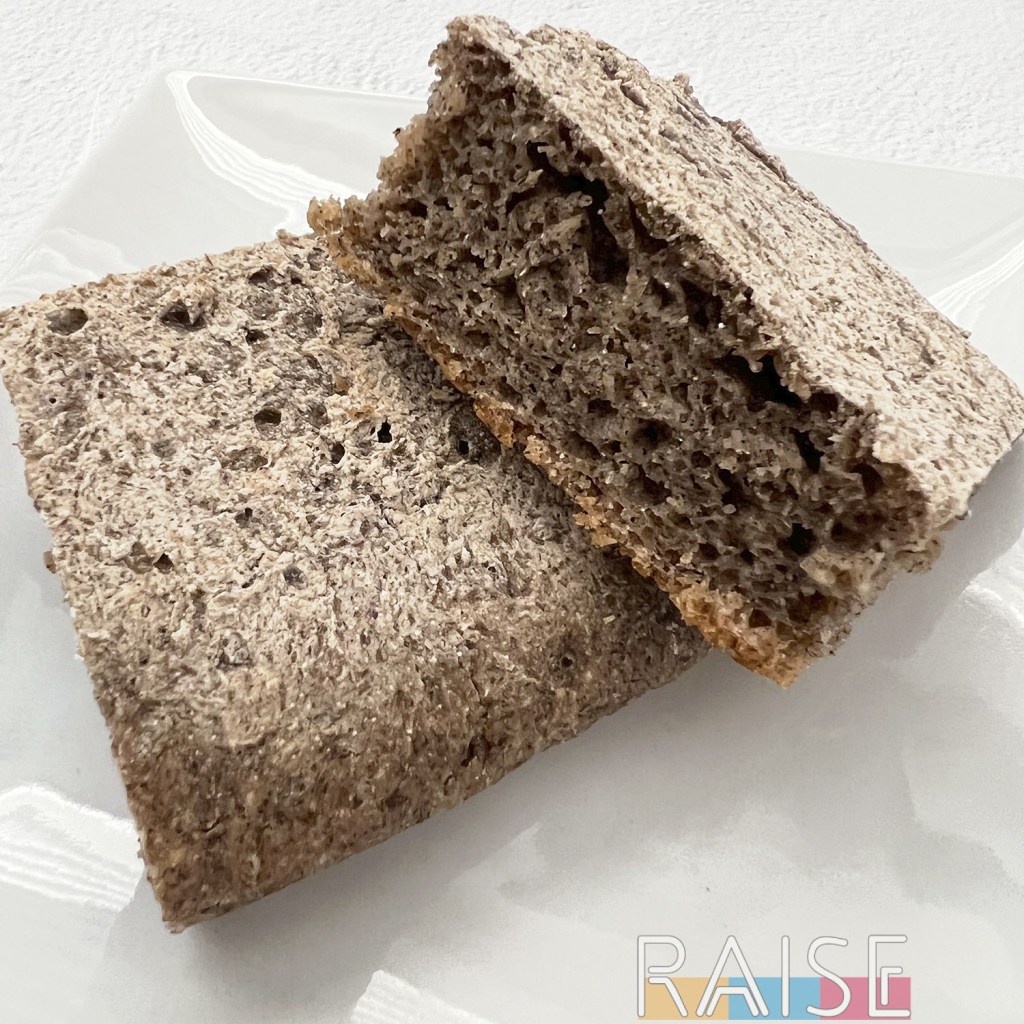
Psyllium Husk: The Secret Weapon to Awesome Gluten Free Bread
Where bread is concerned, a lot of gluten free alternatives are just lacking. Or so I’m told, because yanno, allergic to everything and have never eaten any of this stuff. If you’re working with yeast and want to have an awesome bread texture, turn your eyes to psyllium husk (it’s a seed based product).
You combine it with water and makes an incredible gel (similar to a flax gel but with much different performance features). If you’ve ever seen someone take a piece of white bread and fold it, or give it a little squish/bounce and it comes back to the original shape… that’s what psyllium husk can do for you.
Overall, it improves the texture of gluten free bread, and gives you a really cool squish factor. Now, if you’re struggling with gluten free bread in general, I encourage you to check out the bread mixes from Rustic Scoop or Better Batter. They have great recipes on their websites that use their tried and true flour blends, and I’ve heard so many great things about them.
Leavening Agents: Your Ticket to Better Rise
Baking powder, baking soda, and an acid can do a lot for your gluten free baked goods. Gluten based flours have a natural rise to them, and it’s something that gluten free flours just can’t bring to the table. Again, it’s the lack of that gluten network.
However, you can get some mighty good lift with extra leavening agents and an acid to boost them again. Additionally, the type of oil you use in your recipes (if you do things my way) can affect the rise as well. This is extra true in grain-free and truly corn free baking.
Fun Experiment: Alter the Texture With Your Fat
If you’ve ever looked at a cookie recipe, you’ll see something like “butter at room temperature” or “softened butter” on the ingredient list. However, if you use melted butter, you get completely different results.
When you look at melted butter vs softened butter, the melted fat creates more spread in your cookies where the softened fat will create a more cake-like, fluffy texture in your cookies.
If you’re trying to achieve something specific, consider messing with the fat of your recipe. I’ll also add this: I’ve heard nothing but rave reviews about browned butter cookies, so make sure you try that out as well.
My Final Tip: start by following recipes that are GF only
If you need egg free, again, please read this article instead. For everyone else, USE EGGS. Yes, I’m yelling a little. Here’s the thing. I owned and operated an award winning top 9 allergy free bakery for years. I was able to show that you could make amazing baked goods without wheat, gluten, eggs, and all the other major allergens.
However, I recognize that not everyone is willing to jump through the hoops like I did. You have to have more ingredients on hand (you can still pronounce them, but it’s still more), and it really is an exact science. Plus, you’re not able to just pick up any old mix. Instead, I was always developing something new with different gluten-free flours, striving for better texture (and succeeding), and so on. Though, as a recipe developer, I’m sure I did more than the average bear.
For those who can have eggs, I think you should take the easy road and use them. They’re a great binding agent, which is fantastic to have once you’ve lost the gluten network.
If you enjoyed this article, be sure to sign up for my newsletter where subscribers enjoy the recipes I share, free-from resources, and more.
More Gluten Free Dessert Recipes
If you’re looking for more delicious desserts, here are some recipes to try. Remember though, all of my recipes are gluten free, egg free, and more. They may not be the best place for you to start, or, they may be just what you need.
- Gluten Free Fudgy Brownies
- Bakery Carrot Cake Recipe (no nuts for those who are allergic)
- Chocolate Baked Donuts Recipe
- Pineapple Cherry Upside Down Cake Recipe
 |
 |
 |
 |
Answering Your Gluten Free Baking Questions
Should I bake at a lower temperature when adapting traditional recipes?
If you’re only adapting for gluten free, no, you shouldn’t need to bake at a lower temperature. However, carryover cooking could still be a technique to use. In fact, it’s one of my fave techniques to make sure free-from goods are really done.
If you’re new to baking in general, don’t be afraid to crack open your baked goods a little bit before taking them out of the oven to make sure they’re really done. In fact, even as a pro, when I’m developing something that’s a little wild, I still do this.
It allows you to check the center texture before calling it, and often times, it’s a good thing I did. The outside will look done, but the inside still need a few more minutes.
Do gluten free baked goods require a longer baking time?
Depending on the baked good, maybe an extra minute or two, but nothing dramatic. As long as your all purpose blend is on point and you’re following a solid recipe, you’ll find that gluten free baked goods don’t require a longer bake time. I know for me, sometimes I actually need a shorter bake time by a minute or two.
Where can I purchase the best gluten-free ingredients for baking?
There’s no one sized fits all answer here unfortunately. Here’s what I can tell you after owning and operating an award winning free-from bakery: quality ingredients matter and said quality will absolutely affect the final results.
Where I could, I used organic ingredients, and I opted to craft gluten-free foods that didn’t rely on crazy chemicals etc. Instead, just good, clean ingredients that work. Make sure your flours are superfine where possible, and assuming you’ll be using eggs and milk, get them organic. Yes, it really does make a difference.
If you have an organic/all natural/Co-Op style grocery store in your area, start there. They usually have some amazing gluten-free ingredients for baking. Pro tip: use a high quality organic vanilla extract as well in your baking. You won’t regret it.
Are there any visual cues to look for when baking a gluten free cake to know that it’s ready?
Yes, there are a couple of visual cues. The first is if you see the cake pulling away from the sides of the pan and “shrinking in” on itself. That’s a sign that the cake is not only done, but may be a little overdone.
If you’re making a sheet pan cake especially, and you see cracking on the top of your cake, there’s a very good chance your cake is done, and again, maybe a little overdone. When I see cracks, I get the cake out ASAP to prevent it from going dry.
The last of the visual cues is going to be your toothpick test. Honestly, it’s a very reliable way of knowing if your gluten free cake is good to go. Gently insert a toothpick into the tallest portion of the cake. When you remove it, there should be little to no crumbs. The exception is when you’re making a “fudgy” recipe. Those will have a little smear on the toothpick. However, if you see goopy cake batter on your toothpick, the cake is absolutely not ready yet.
Are Bob’s Red Mill flours a good starting place? I see them in a lot of grocery stores.
I’ve heard mixed reviews about Bob’s Red Mill flours. Personally, I think they’re a great starting point, but not the end all be all. I appreciate how accessible they are, and that they’re sold nationwide. When you’re new to the gluten-free diet, Bob can feel like your bestie. I met him once yanno, such a nice guy. I digress.
Once you’ve gone past the “toe dipping” phase of gluten free baking and have more confidence in the kitchen, I think that’s when you’ll branch out, find good superfine flours, start making custom blends, and so on. At that point, you’ll realize that baking has so much more potential once you’ve stepped out of the comfort zone of the starter flours.
I will add this: I have several professional friends that wouldn’t touch Bob’s with a ten foot pole, and I also know bakeries that rely on Bob’s Red Mill flours exclusively. The only way for you to know if it’s a good flour is to try it out at home and see what your taste buds think. If you’re not pleased with the texture and quality, move on to a different brand.
One last note: Bob’s Red Mill is great for gluten free. If you have other dietary restrictions, especially nut and soy, there’s a risk of cross-contact (sometimes called cross-contamination) due to shared lines. I’ve met people who react to their flours, so keep that in mind as you shop.
What’s the best flour for gluten free pies?
As someone who does a lot of developing, I have different answers depending on the pie filling. For example, if you were making a nutty chocolate mousse filling, I might suggest either a basic gluten free flour blend with added cacao, or I might suggest a custom blend with buckwheat flour mixed in because it can really compliment the earthy tones of chocolate.
If it’s a savory pie filling, I’m going to make sure that there’s millet flour in the mix because it lends itself SO well to savory applications. Now, if I had to pick a universal set of flours for gluten free pies, I’d say something like superfine sorghum flour + arrowroot + potato starch + oat (or tiger nut) + a little bit of caster sugar. That blend is going to be a nice midrange weight with the light starch and a little bit of a delicate crumb from the potato starch.
I’m sure you were hoping to know which all purpose flour to purchase, but as someone who has never used one, I couldn’t tell you that bit.
Does it matter what type of milk I use in baking recipes?
No, in gluten free baking, the type of milk usually won’t matter. It matters if the recipe calls for something specific such as skim milk, buttermilk, whole milk, heavy cream, etc. If the recipe just says “milk” or “milk of choice” any mammal milk or dairy free plant based milk can be used.