Today I’m going to be sharing an easy, delicious egg free ice cream recipe with you. This vanilla ice cream, well, frozen dessert because there’s no heavy cream, is not only egg free, but also dairy free, truly corn free, and more. There are aren’t a lot of ice cream recipes floating around that are this inclusive, so know that you’re in for a real treat.
Also!! This ice cream is GERD friendly (there’s no added fat content), making it insanely inclusive.
Full disclosure: you will need an ice cream maker to properly make this egg free ice cream recipe. I’ve linked to the best machines below, and have some more details on the topic for you.
Allergy Status
Free From: Wheat/Gluten, Dairy, Egg, Soy, Tree Nut (including Coconut), Peanut, Fish, Shellfish, Sesame, Top 9 Allergens, Top 14 Allergens, Alliums, Apple, Avocado, Banana, Beans & Lentils, Berries, Buckwheat, Cane/Refined Sugar, Carrot, Celery, Cinnamon, Citrus, Cooking Oil/Added Fats, Corn, Garlic, Latex Cross Reactive Foods (H/M), Legume, Lupin, Mushroom, Mustard, Nightshade, Oat, Onion, Pea & Pea Protein, Potato (Nightshade Variety), Poultry, Red Meat, Rice, Seeds, Stone Fruits, Strawberry, Squash & Gourd, Sweet Potato & Yam, Tapioca/Cassava/Yuca/Manioc, Tomato, Yeast
Friendly To: EOE, FPIES, GERD, Low Histamine, Paleo, Vegan
**Reminder: You will most likely end up with at least ONE of the free-from items above, unless you select tiger nut milk.
Low Histamine Reminder: If vanilla extract isn’t tolerated, use an extra 1/4 teaspoon of the vanilla bean. Be sure to use corn or cabbage based xanthan, not legume based xanthan.
Tools Needed to Make This Egg Free Ice Cream Recipe
These are the three critical tools you’ll need to make this delicious vanilla ice cream at home.
- Blender (this is the one that I have)
- Ice Cream Machine with Compressor (I use this one)
- Small Knife (something similar to this or a less expensive option like this, I have both and they can both get the job done well)
A Proper Ice Cream Machine: Your Ticket to Creamy Ice Cream That’s Dairy & Egg Free
When it comes to churning an ice cream base at home, the tool you use will make or break you. Ice cream making is truly a science, and you have to have the right fat to liquid ratios, the right sugar ratio, and so on. Without good ratios, all ice cream will fail (not just dairy free and egg free).
As an ice cream lover (seriously, it’s my JAM), know that I’ve tested many machines and ice cream making methods. When it comes to making the BEST free-from ice cream at home, you need a proper countertop ice cream machine with a built in compressor.
If you plan to only make vegan nicecream that’s banana based, you won’t need this. For all other free-from ice cream, I don’t care what trendy video you saw online. Get. The. Machine.
With the right machine, you don’t have to do a lot of work to have great results. Without the machine, you either have to remember to freeze a bowl (and it’s not always successful), or you have to shake like mad with the salt method, or you have to stir ice cream as it freezes every 5 minutes.
All of those methods won’t get you what you’re after. Trust me. The reason why: They’re missing AIR. Air is the secret to uber delicious homemade ice cream, and you’re going to want ta proper machine to introduce it.
Now, I’m not going to lie. These machines are an investment. I have this popular Cuisinart ice cream maker, and it’s served me well. I started with a different one that was finicky, so know that brand matters. I’ll also be picking up this ice cream machine sooner than later because I want to do some side by side tests of free-from ice cream.
Each ice cream machine will create ice crystals a little differently, has a different RPM, and so on. If you want to nerd out over ice cream machines, read this article by Ice Cream Science where he does a deep dive on the top three ice cream machines for home use.

Simple Ingredients for This Easy Vanilla Ice Cream
- 670mL Milk of Choice (24 ounces)
- 140mL Organic Maple Syrup (5 ounces)
- 1 tsp Corn Free Xanthan Gum (cabbage derived)
- 1/2 tsp Redmond’s Real Fine Sea Salt OR Celtic Sea Salt (fine)
- 1/2 Organic Vanilla Bean
- 1/4 tsp Organic Vanilla Extract
Important Note About Substituting
This is a very specific recipe, and it’s rare that I’d tell you to not swap something. Don’t make swaps. Don’t think you can substitute the maple syrup for white sugar or another sweetener, and so on. This recipe works as is, and only as is. Any substitutions you make or ratio tweaks will be done at your own risk. The only flexible ingredient is the milk of choice.
For milk, you can use any of the following:
- Cow’s Milk (Whole Milk, 2% Milk, etc.)
- Lactose Free Milk
- Sheep’s Milk
- Camel Milk
- Goat’s Milk
- Dairy Free Milk (all plant based milk will work including oat milk, almond milk, cashew milk, soy milk, coconut milk, rice milk, homemade milk, etc.)
Truly Corn Free Ingredient Notes
If you are truly corn free (no corn derivatives) and dairy free, you’ll need to make your milk at home. You’ll be hard-pressed to find a truly corn free milk. You can get in touch with Malk, but even then, it’s a big leap. Along with homemade milk, I use:
- Cabbage Derived Xanthan
- This Salt (there are larger sizes available)
- This Maple Syrup (there are a couple of other truly corn free options, but they’ve changed in recent years)
- The only truly corn free vanilla available (only get beans and extract, none of the other products)
Step-by-Step Instructions
Get ready to make the best vanilla ice cream for someone that’s corn free + top 14 free!
Before you can make your ice cream mixture, you’ll need to scrape a vanilla bean pod (this really enhances the vanilla flavor). To do this, cut a whole organic vanilla bean in half lengthwise. Place your finger on the end closest to you to hold it in place. Put the blade of your knife next to your finger, on the open pod. Press down a bit and push the knife away from yourself in a steady motion. As you push, the inside of the vanilla bean comes up and it’s dark, somewhat thick, and a bit paste like. That’s the scraping of a vanilla bean pod.

Now, place your empty blender container on your kitchen scale and tare to zero. Add each of the ingredients, and don’t forget to tare between weighted ingredients. Blend on high for at least 1 minute to ensure your ice cream mixture is super super smooth. This extended blend time also ensures that your xanthan gum is well distributed and can do its job well.
Transfer your ice cream mixture to the bowl of your ice cream maker. Push the magic buttons to to let the ice cream churn and try to wait patiently. Start with a 30 minute churn time, and check the consistency. I usually churn ice cream for 37 – 42 minutes, but each ice cream maker will be different.
If for some reason your milk was not cold before you started, and your blender contents are on the warm side, you can chill the blender in your fridge for an hour before churning. However, if you have a countertop ice cream machine with a compressor, chilling isn’t 100% necessary, but you’ll have a longer ice cream churn time to allow the machine to bring the mixture down in temperature.
Alternative Instructions: No Ice Cream Machine
OK, I know I spent a good amount of time telling you why you need an ice cream machine. Now, I’m going to share the most delicious experiment with you that I’ve been quietly testing for over a year now: faux ice cream made with milk ice cubes. You’re going to have to do a little math to make this work, but let me tell you, I’ve been eating some VERY tasty faux ice cream straight from my blender with this method.
- Freeze your milk of choice in an ice cube tray like this one.
- Once frozen solid, transfer to a freezer baggie and repeat until you have a lot of milk cubes to pull from.
- Place your empty blender container on your kitchen scale and add ice cubes until it looks like a good serving to you.
- Do a ratio equation to determine how much maple syrup to use. It’s A:B is C:D. If you’re rusty on math, this website has a calculator where you can plug in numbers. In the case of our drink, A = 670mL (my milk), B = 140mL (my maple), C = Your measured milk cubes in mL, D = the number we need, your maple syrup amount.
- Add the right amount of maple syrup to the blender (don’t forget to tare to zero).
- Omit the xanthan, only use a pinch of salt, a generous pinch of ground vanilla, and a little vanilla extract.
- Blend on high until smooth. You may need a plash of milk to bring it together, but use it sparingly to avoid making a smoothie.
The result should be a super thick blended milk that eats like ice cream and it’s HELLA DELICIOUS. I’ve been doing this for almost a year now and dang… soooooo good. Now, I’ve never frozen the leftovers from this since I only make the amount that I want to eat right then. If you freeze leftovers, let me know how it goes.

Ice Cream Storage Notes
I think we can all agree that the number one way to store your ice cream is to grab a large bowl for serving, and store said ice cream in your tummy. Now, if you happen to have leftovers, here’s how can store it.
Transfer ice cream from your ice cream machine into airtight containers and store with an airtight lid. You can freeze ice cream for years (I’ve tested this) so long as your container really is airtight. If it’s not, consider using a little bit of plastic wrap or covering, like what you’ll see with commercial ice cream. This ensures that your ice cream doesn’t come into contact with air.
For even better results: Freeze your liquid batter. I’ve obtained the absolute best results from making ice cream fresh each time, rather than freezing the final product. It has to do with home freezing vs commercial freezing. Whilst your ice cream is cold, over the course of 3-4 hours in your freezer, it completely sets. However, commercial freezing uses flash freezing and ultra cold temperatures, reducing this time greatly, and locking in the amazing texture and consistency.
By making the ice cream fresh each time, you don’t have uneven freezing to deal with, however, you also have to plan for ice cream. Ultimately, this is going to come down to personal preference. I suggest freezing some liquid batter along with leftovers from your machine and doing a head to head test the next time you want ice cream.
To make ice cream from frozen batter, allow it to thaw completely, give it a VERY good shake, then pour into your ice cream machine. For the test, allow the frozen ice cream to sit at room temperature for a few minutes towards the end of the fresh ice cream’s cycle so they’re both on the creamy side when you taste.
Troubleshooting This Egg Free Ice Cream Recipe
A lot can go right when making egg free ice cream at home, however, a lot can go wrong as well. I’m going to share some tips on issues you may run into, especially if this is your first time making homemade ice cream.
You Don’t Have Scoopable Ice Cream
If you’ve made your ice cream in the ice cream machine and it’s not scoopable, there are a couple of solutions, depending on what went wrong. If your ice cream is more chunky than smooth, transfer it to a large mixing bowl and gently fold. You can add a splash of cold milk to help make the texture a little better. It’s important that you work quickly since your ice cream will start to melt.
If your ice cream has been stored in the freezer and it’s no longer scoopable, leave it out at room temperature for at least 10 minutes (sometimes it takes even longer). When your ice cream has softened a bit, stir it really well with a spoon, and you should be able to scoop it nicely.
Your Stored Ice Cream Has Freezer Burn
This will happen if you aren’t using good storage containers. If it’s not an airtight container, freezer burn will develop. Additionally, freezer burn can develop if there’s a lot of space in the container (therefore lots of air in the container).
Think back to the last time you opened a pint of ice cream from the grocery store. There’s either a thin cover/seal that you have to remove, or the pint is packed full and the ice cream touches the lid.
Both of these things mean that the ice cream isn’t exposed to air, and freezer burn doesn’t develop before someone purchases it. You can create the same result at home by using a little bit of plastic wrap. Once you fill your ice cream container, cut a small piece of plastic wrap and place it directly on the ice cream. Press it in with your fingers to ensure all of the ice cream is well covered, then add the lid.
When you go to eat your ice cream, there shouldn’t be any freezer burn.

Your Ice Cream Has an Icy Texture Rather Than a Creamy Texture
When you make dairy free + egg free ice cream, you can end up with an icy texture. Your first line of defense will be the manufacturer’s instructions that came with your machine. Make sure you start with the timings they suggest. The xanthan gum in this specific recipe is your second line of defense, as it can help prevent ice crystals from forming.
Second, make sure you’re using the correct paddle. Many ice cream machines come with a gelato blade and ice cream blade. Use the right one, based on the recipe you’re making.
Third, make sure you’re using a good ice cream base that has a proper ratio of fat to milk content, OR has some kind of gum/binder in the mix. With free-from ice cream, these additional ingredients can make a huge difference.
Fourth, avoid over churning your ice cream. This is the number one way to have the wrong texture in the end.
You Wanted a Creamier Texture
In this particular recipe, there’s no added fat. That’s part of what makes it GERD friendly, and friendly for those with other dietary restrictions. You can create a creamier mouth feel by adding 30mL of a neutral oil (organic tiger nut oil is the best for ice cream [tuber, not a tree nut]). I’ve tested this extensively, so make sure you use a kitchen scale, and use the right oil.
Other oils DO work, but they can hijack the flavour of your ice cream. If you go over 30mL…. let me tell you. It’s like eating the worst cold tub of shortening that’s really expensive. Just disgusting. It’s been YEARS since that experiment and I can still taste it. Essentially, the fat needs to be 5 – 6% of the milk weight for the most success.
More Delicious Dairy + Egg Free Ice Cream Recipes
Each of these egg free ice cream options are incredibly allergy friendly. They’re all vegan, top 9 free, and more. I hope that after making some of these recipes you feel incredibly empowered. as I like to say, no milk, no eggs, no problem.
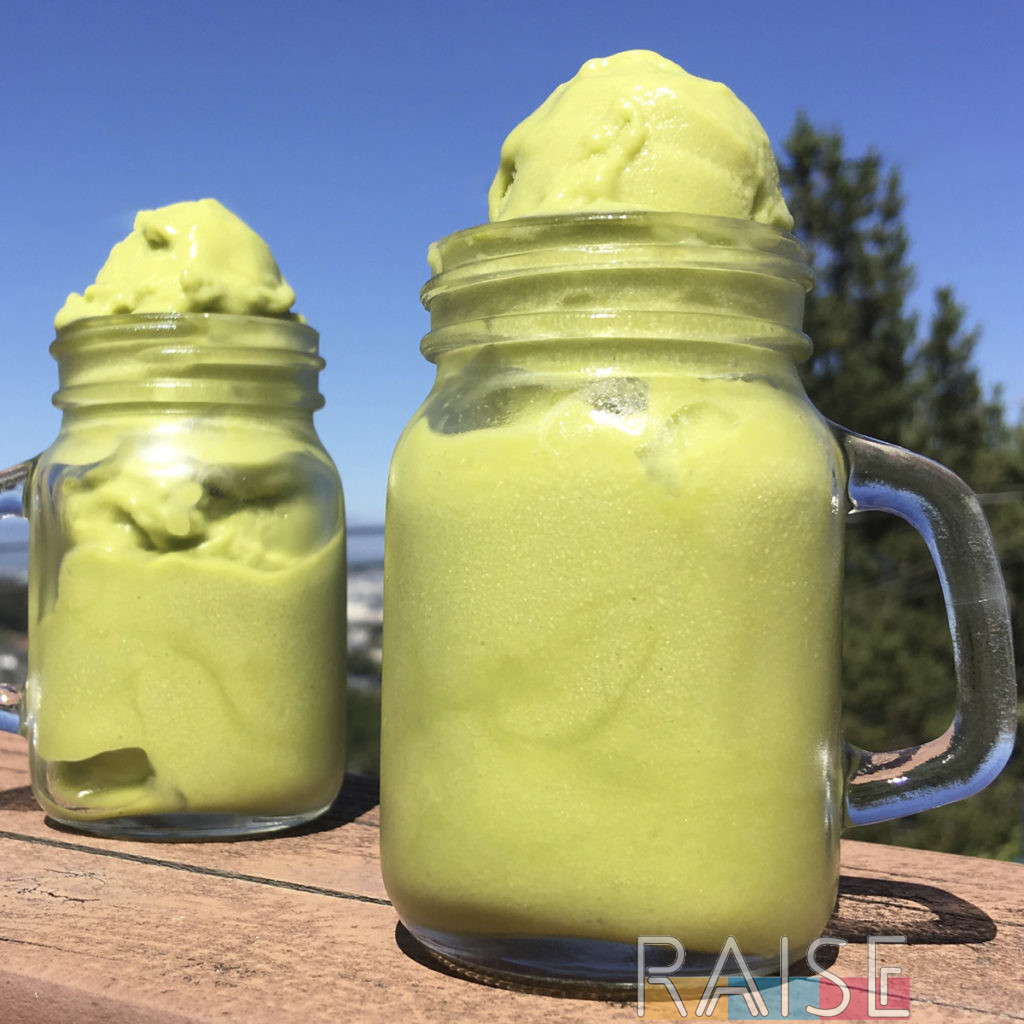
- Banana Chocolate Chip Creamy Homemade Ice Cream Recipe
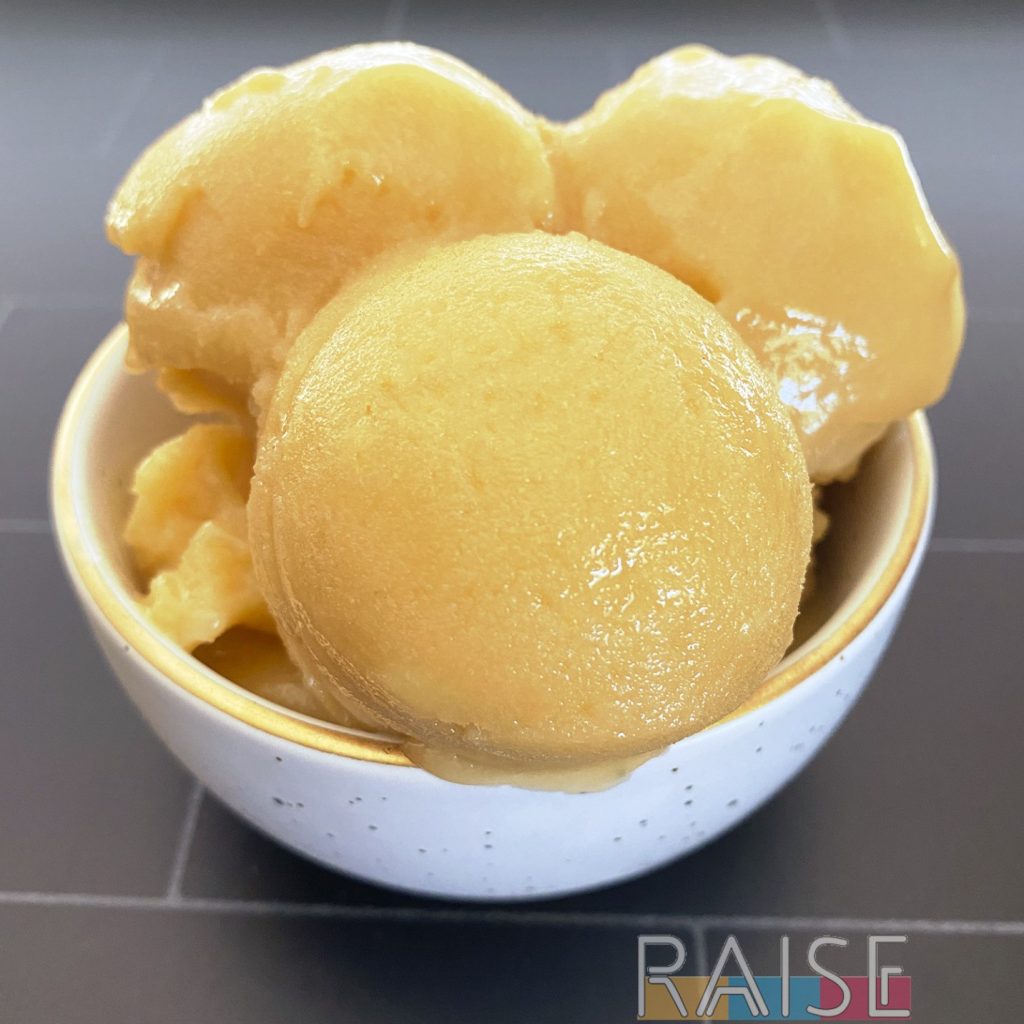
- Peach & Nectarine Vegan Ice Cream Recipe
- Strawberry Ice Cream Recipe
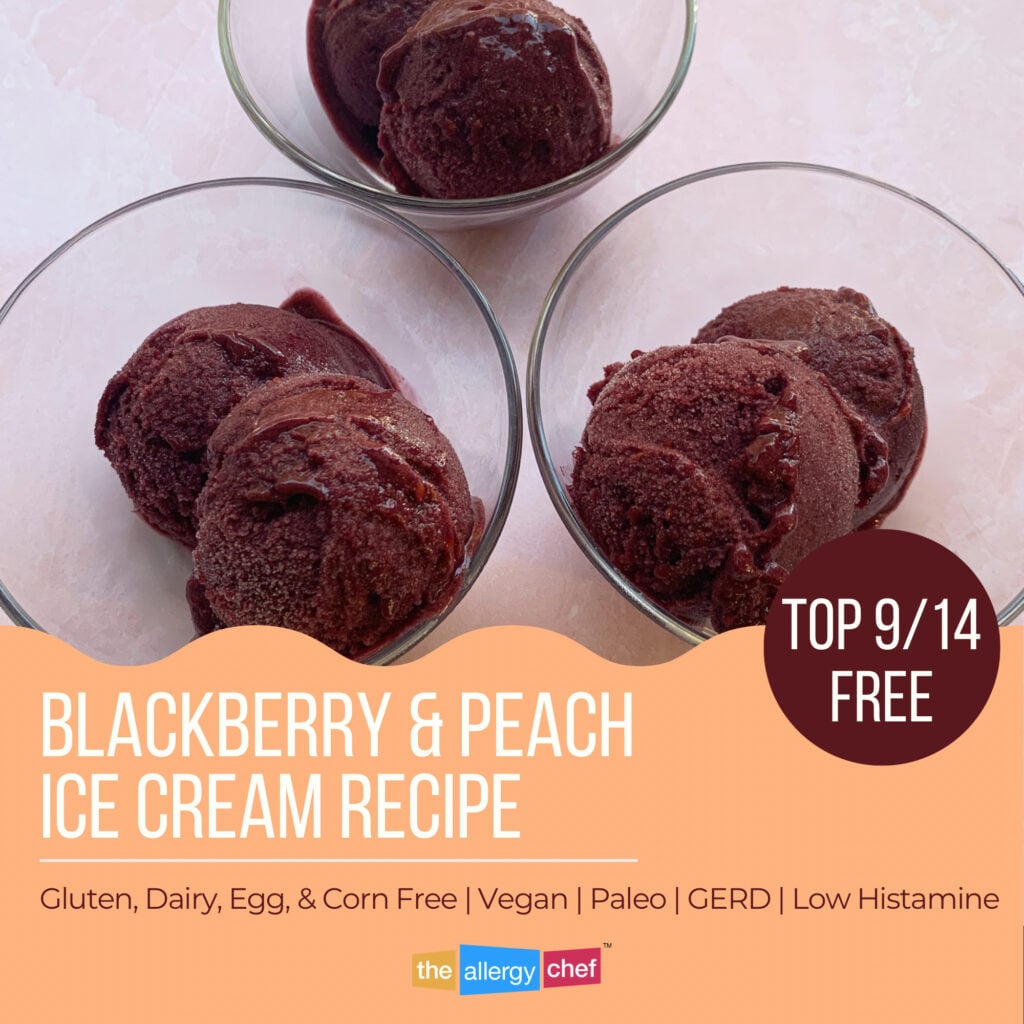
- Truly Corn Free, Refined Sugar Free Peach & Blackberry Ice Cream Recipe
 |
 |
 |
 |
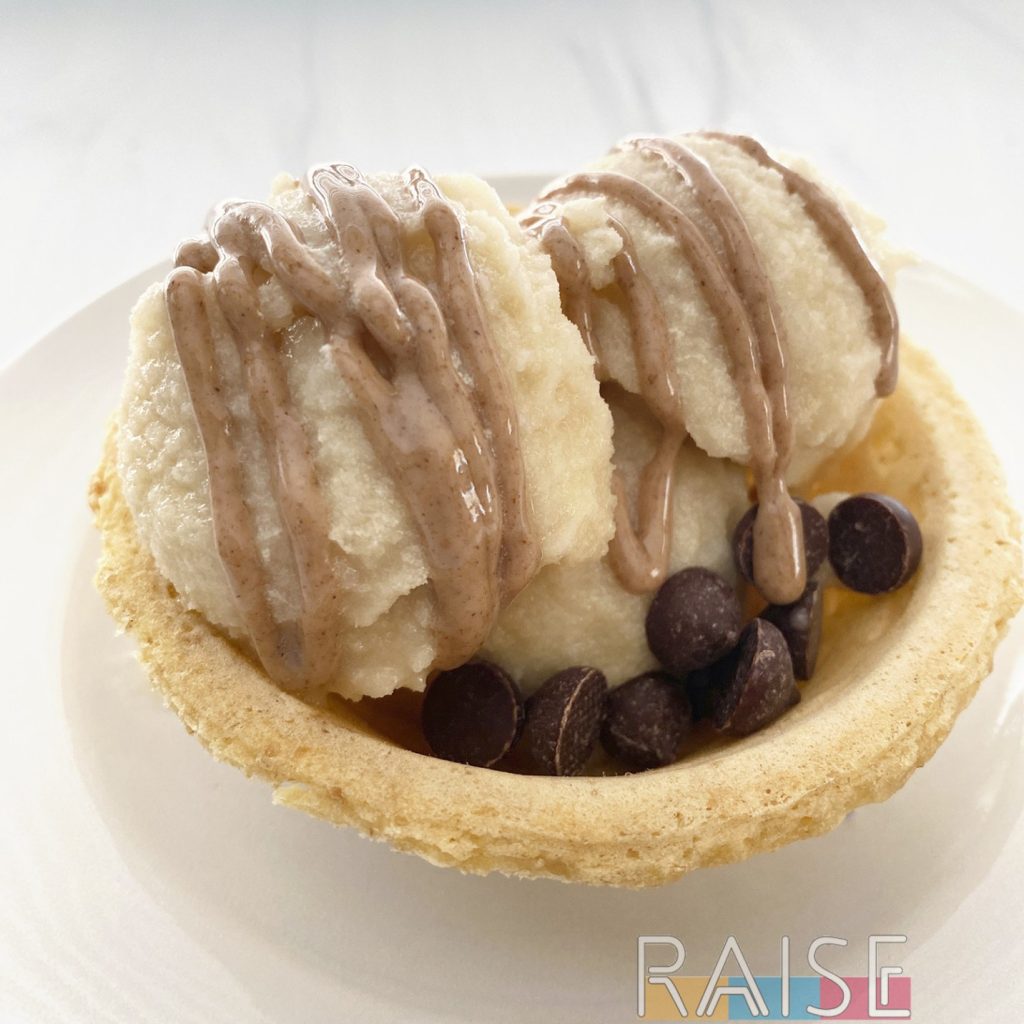
Great Toppings for Your Egg Free Ice Cream
Once you’ve made this great recipe for egg free ice cream, you can add a wide range of toppings to enhance the eating experience. Honestly, that’s one of the benefits to making a vanilla ice cream: it pairs well with every topping out there. Here are just a few tasty ideas to get you started:
- Drizzle on a caramel sauce (my cookbook has an outstanding FD + Top 14 Free + Coconut Free Recipe)
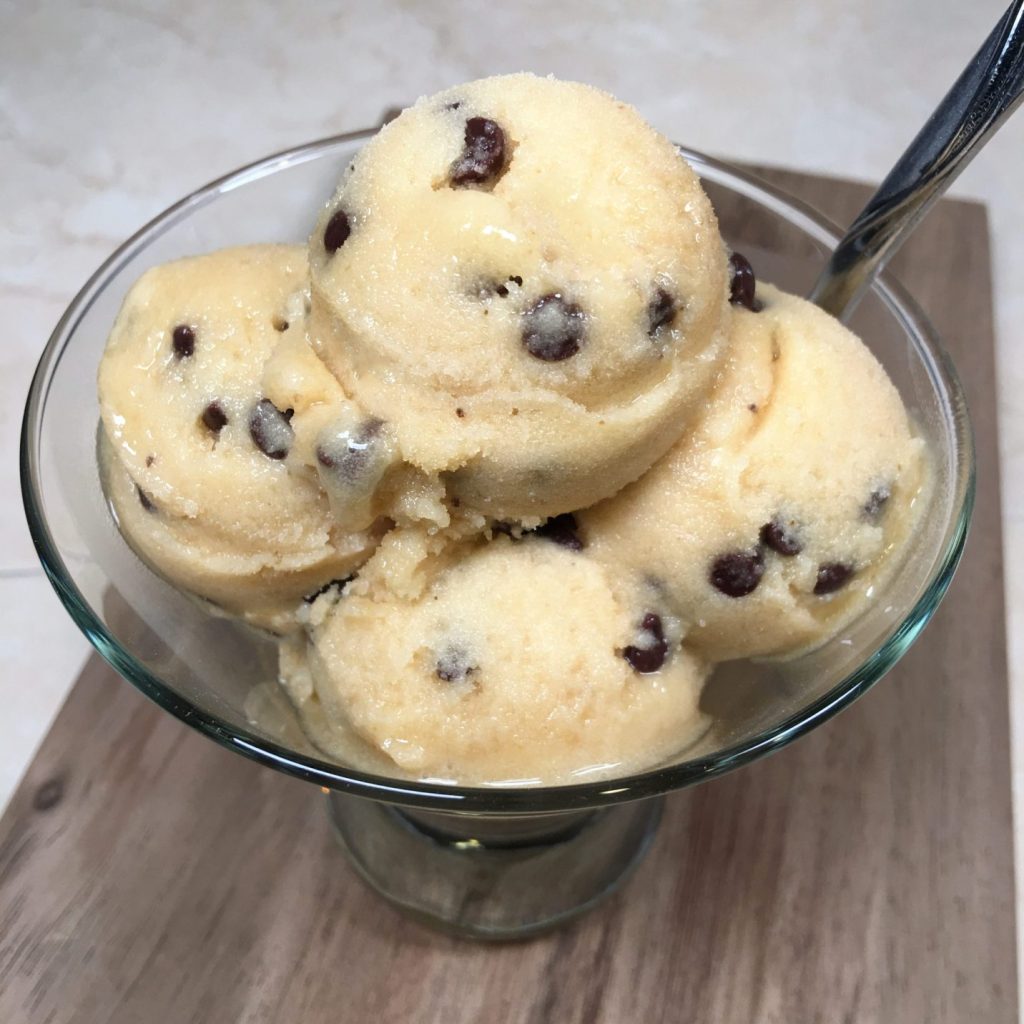
- Top with mini chocolate chips
- Make a custom strawberry sauce to drizzle on top (if you’re a foodie at heart, make a balsamic + basil + strawberry sauce)
- Drizzle on a homemade hot fudge sauce
- Top with slices of fresh fruit (strawberries are excellent, as are peach)
- Pipe on a simple/custom glaze (cinnamon, spicy, etc.)
- Make grilled peaches (you can get truly corn free peaches from a good farmer’s market)
- Homemade apple pie compote
- Bonus: Serve in a waffle bowl (whilst this isn’t a topping, it’s a great addition)
Note: you can also use this recipe as a launching point to make more ice cream flavors at home. You have a formula that works, so tweak and take notes when trying something new.

Answering Your Questions About This Egg Free Ice Cream Recipe
Could I use sweetened condensed milk in this recipe?
When you make this eggless vanilla ice cream recipe, I don’t suggest making that swap. Sweetened condensed milk will throw off the sugar content of the ice cream, which also messes with the ability to freeze, how ice crystals develop, and so on.
There really is a science behind how all of this works, and sugar and fat are at the forefront of the equation. If you’d really like to use condensed milk, I suggest searching online for an egg free ice cream recipe that uses condensed milk as the base. That allows you to follow a proven recipe that keeps the percentages in line.
Is there a way to make an egg free egg-based custard style ice cream?
When it comes to eggless ice cream, you’ll be hard pressed to buy something like that in a grocery store, or make it at home. Now, you could make something incredibly creamy by leaning into something like coconut oil, avocado oil, or tiger nut oil (tuber, not a tree nut).
However, you’re not going to be able to replicate the distinct quasi-stretchiness that egg yolks bring to ice cream. You can get to the same creaminess though, especially if you eat your homemade ice cream at the right temperature.
What you’ll want to do is search online for vegan custard recipes and perfect that. From there, start messing about with your custard in the ice cream machine, adjusting ratios, and so on. I won’t lie, it’s a tall order that will take a lot of experimenting to get just right.
Also, keep in mind that I’m a dairy free recipe developer as well. It’s possible that you may be able to get close to custard with heavy cream or condensed milk. Just be sure to take great notes with all of your experiments so you can replicate the recipe once you hit pay-dirt.
Could I use vanilla bean paste in place of the vanilla bean?
For this wonderful recipe, you can certainly try. I’ve never personally worked with vanilla bean paste since they all commercial options contain corn derivatives (I have a life threatening corn allergy).
You would need to look up the equivalent of vanilla bean paste to vanilla bean pod scrapings, as I imagine you wouldn’t need a tonne to enhance the vanilla flavour. If you do make that swap in this vanilla ice cream recipe, be sure to manage your expectations, as I can’t predict what the outcome will be (though, it should be very similar).
Can I make the ice cream base in a food processor?
No, a blender and food processor, whilst similar, have different abilities when it comes to making homemade vanilla ice cream. A food processor won’t reach the same speed, and that’s part of what you need. If you don’t have a blender, then next best choice would be an electric hand mixer (this is the one that I have for experiments and it’s pretty good).
Where’s the best place to buy ice cream makers?
If we’re talking price, shop around online until you find a good price. I’ve found that some years, ice cream makers have great sales at Black Friday, and other years, nada.
Always check the manufacturer’s website, and if you plan on buying from Amazon, check the Camel Camel website first. It shows you the true price history over a one year span so you know if you’re getting a real sale or a bunch of smoke.
Is it possible to purchase corn free sprinkles?
Nope. You’re going to find cornstarch and other corn derivatives in all brands and flavors of commercial sprinkles. Trust me, I’ve checked. I always get so excited when a new brand offers sprinkles (especially in the sugar free, keto, and organic spaces). However, without fail, every time… all the flavors contain corn.
So, whilst you can’t purchase them, you have a couple of options. The first is to tint large sugar crystals so they look like decorating sugar, which kind of looks like sprinkles.
The other option is to make glaze dot sprinkles. This is more work intensive, but you can create some amazing flavors and colors. You’ll need truly corn free powdered sugar, along with flavoring agents, and safe water. Let’s say you want yellow sprinkles. You’d use corn free turmeric + corn free powdered sugar + corn free vanilla + safe water.
Make a glaze, then set out a piece of parchment paper. Load up a disposable decorator bag, then cut a small hole in the bag. Pipe dots all over, then leave them to set overnight. The next day, put the sheet in your freezer and leave it there for a few hours.
Finally, take the dots off the paper and transfer them to a glass jar. Use your sprinkles, and store leftovers in the freezer.
Is it difficult to make vanilla extract at home?
Nope. All you need are vanilla beans, an alcohol of choice, and time. Well, a container as well, but you get the idea. You can look up vanilla extract recipes at home, and if you’re corn free, use the corn free version of each ingredient. The extract brand that I linked in the ingredient notes also sells vanilla beans that you should be able to use.
Now, if you want an extract quickly, check out this really cool kitchen tool. I plan to get one in the coming year just for the sake of making extracts and pickles pretty quickly.